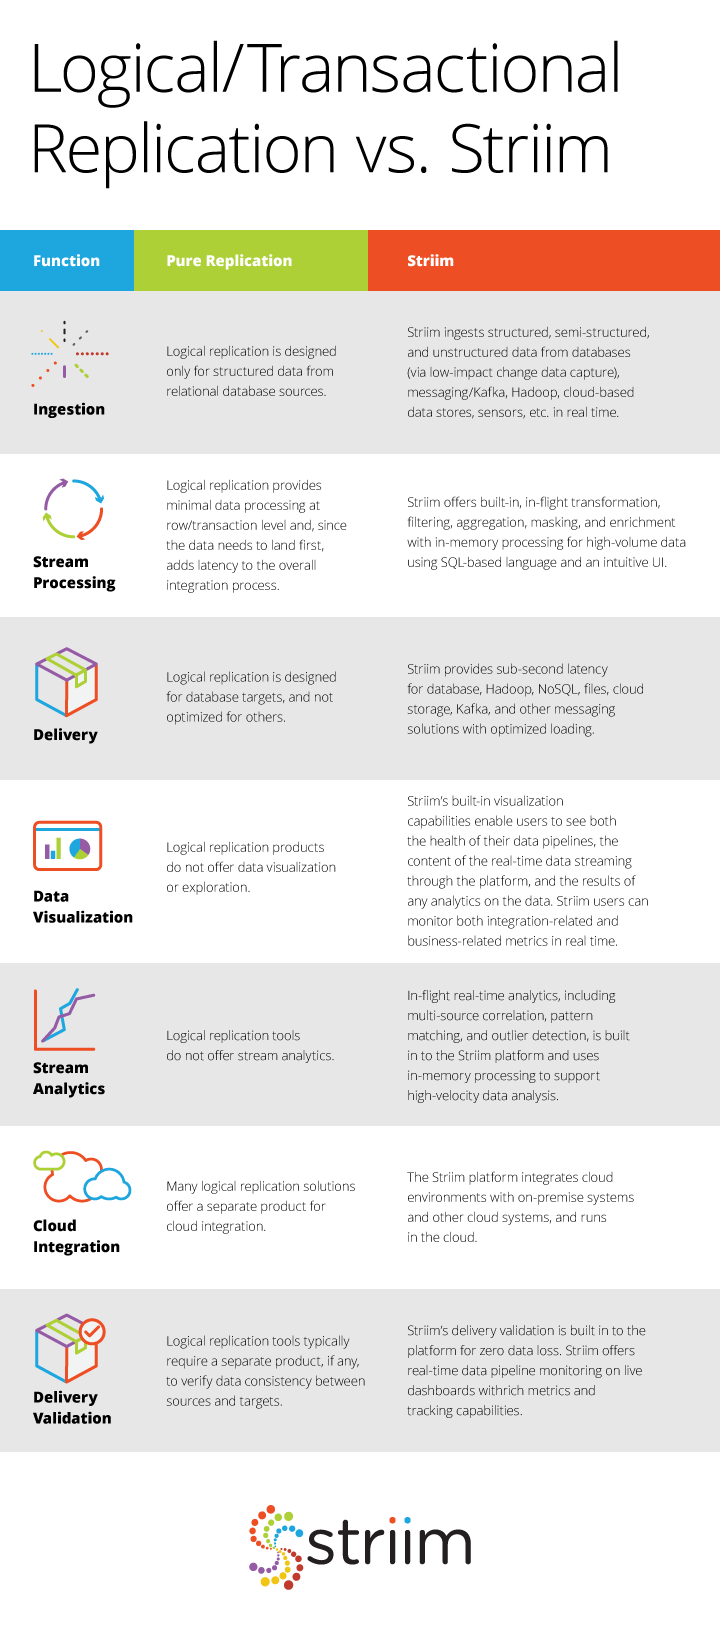
Striim in the Microsoft Azure Cloud enables companies to simplify real-time data movement to Azure by enabling heterogeneous data ingestion, enrichment, and transformation in a single solution before it delivers the data with sub-second latency. Brought to you by the core team behind GoldenGate Software, Striim offers a non-intrusive, quick-to-deploy, and easy-to-iterate solution for streaming data movement to Azure.
It’s easy to get started with Striim in the Azure Cloud. We offer Azure Marketplace solutions for Azure SQL Data Warehouse, Azure Cosmos DB, SQL Database, Azure Database for PostgreSQL, Azure Storage, and HDInsight. However, if you want continuous data movement to Azure Database for MySQL or other Azure services, you can quickly set up your own instance of Striim on a VM.
This quick-start guide assumes you already have an Azure account set up, and should take about 20 minutes to complete.
Helpful Links
Striim Azure Documentation
 hbspt.cta.load(4691734, ‘e285e62c-9abc-45bb-857d-e8a52f2d9776’, {});
Create Ubuntu VM on Microsoft Azure
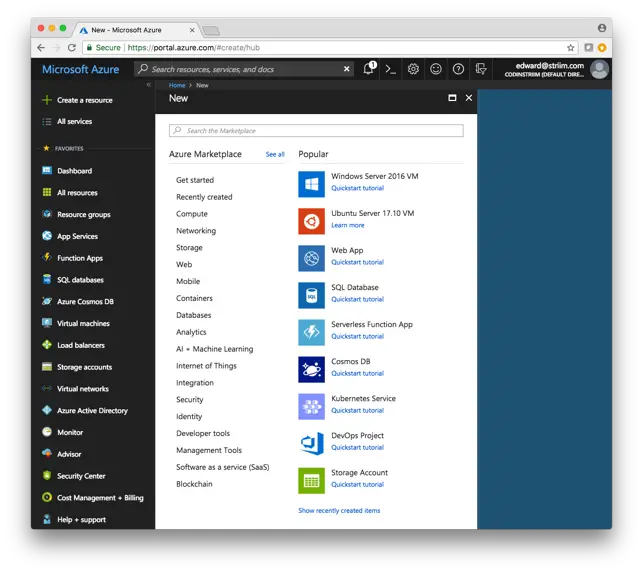
- Open up your favorite browser and navigate to Azure’s dashboard at portal.azure.com

- Click on the + Create a resource button on the top of the left hand menu
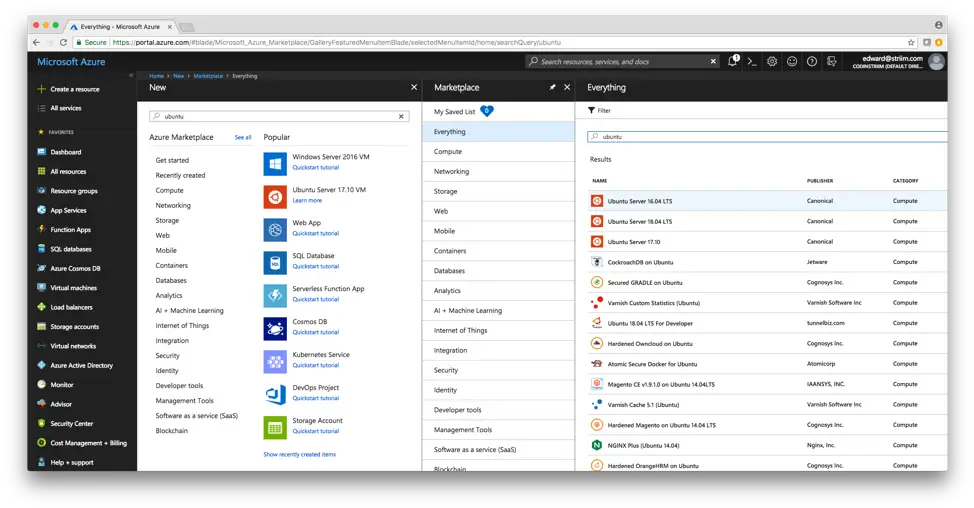
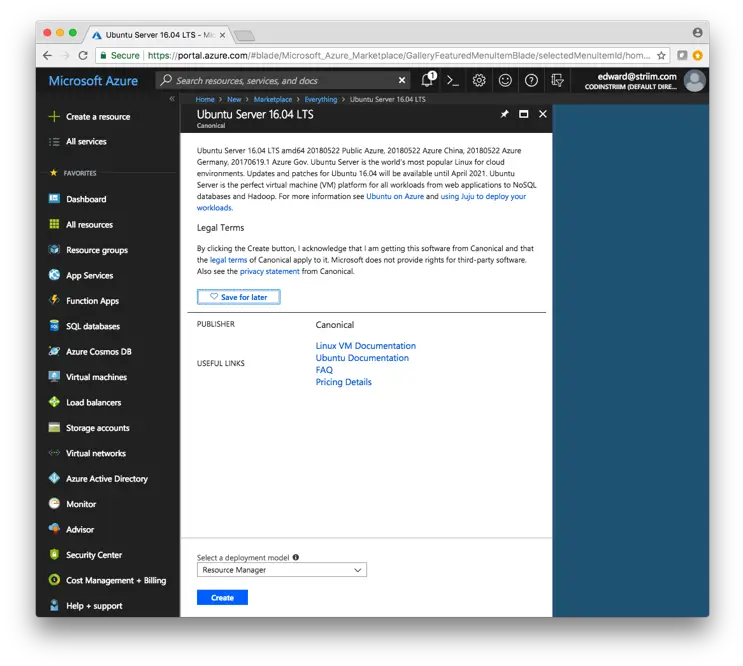
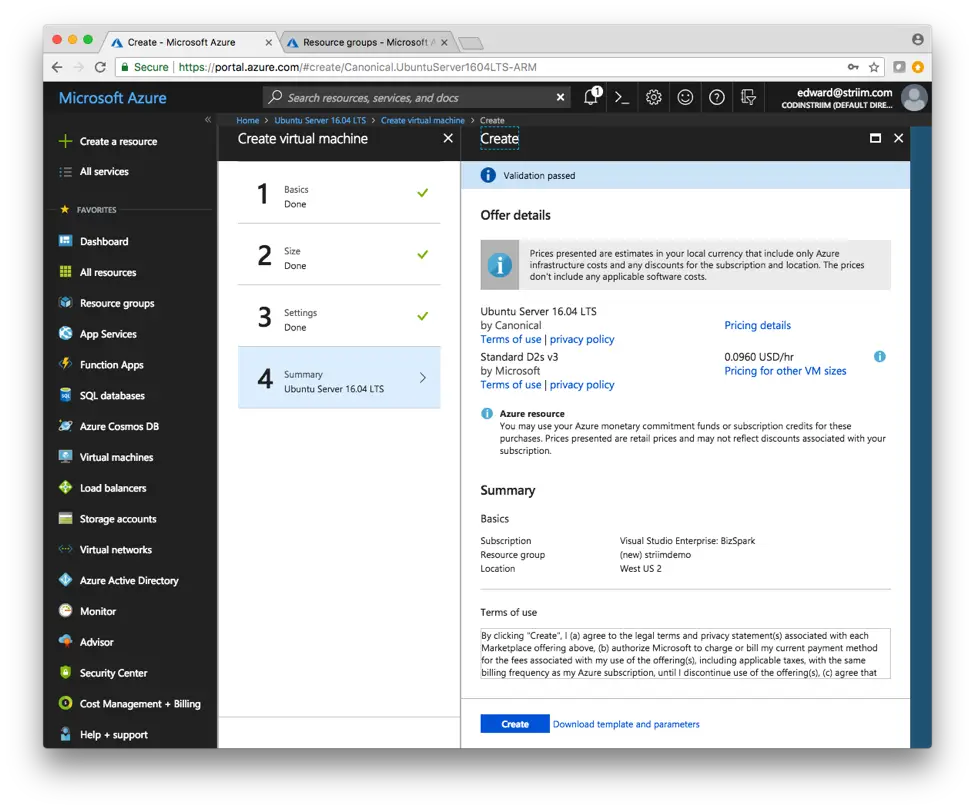
3. Search for Ubuntu and select Ubuntu Server 16.04 LTS. This version is certified to work with Striim out of the box.
4. Select Create
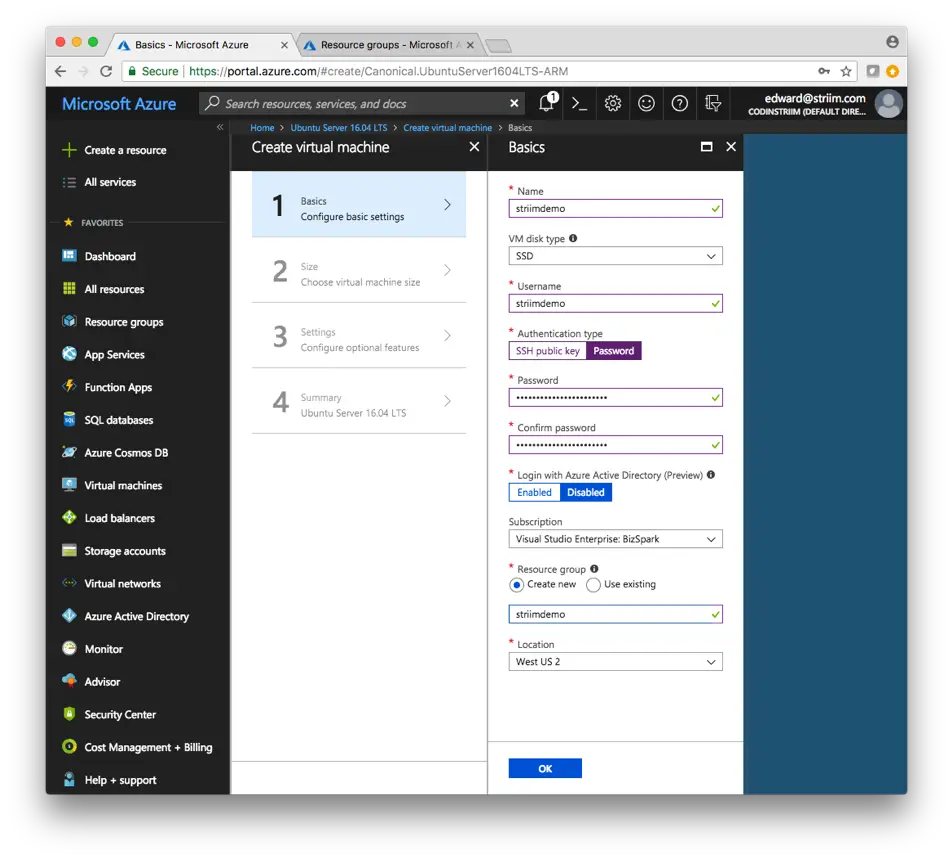
5. Enter the information for your VM. For this demo, I’m using a password as authentication type. For a more secure connection for production workloads, select SSH public key and generate it through terminal if you’re on a Mac. Click OK when you’re done entering the connection information.
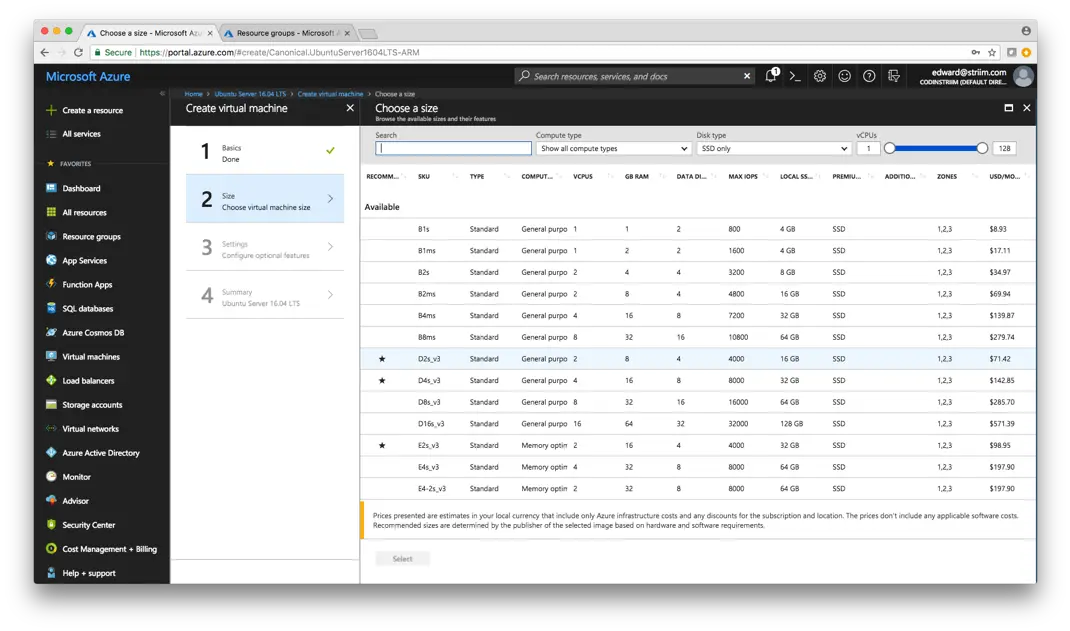
6. Choose a size for your VM. I’m using D2s_v3 for this demo. However, choose a larger size if need be for production workloads. Note that you can always scale the VM after creating it if you find your initial choice is not sufficient. Press Select to continue.
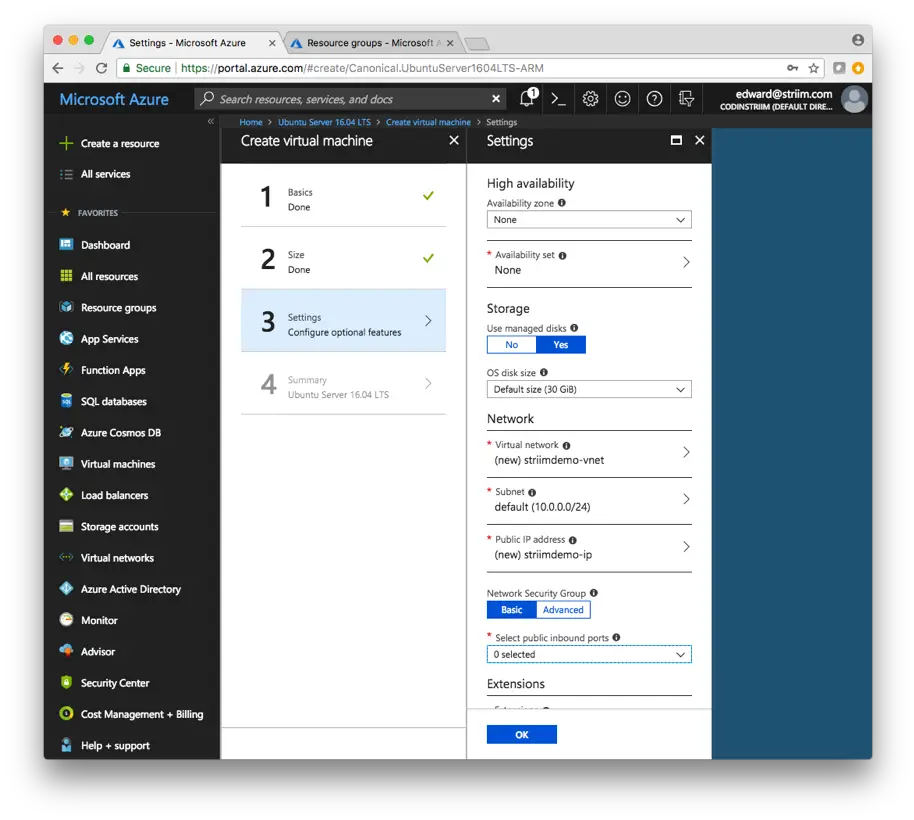
7. Configure the additional Settings of the VM. If you need high availability for your configuration, select it here and specify your Availability set. As I’m only using this VM for demo purposes and don’t need high availability, I’ll skip it.
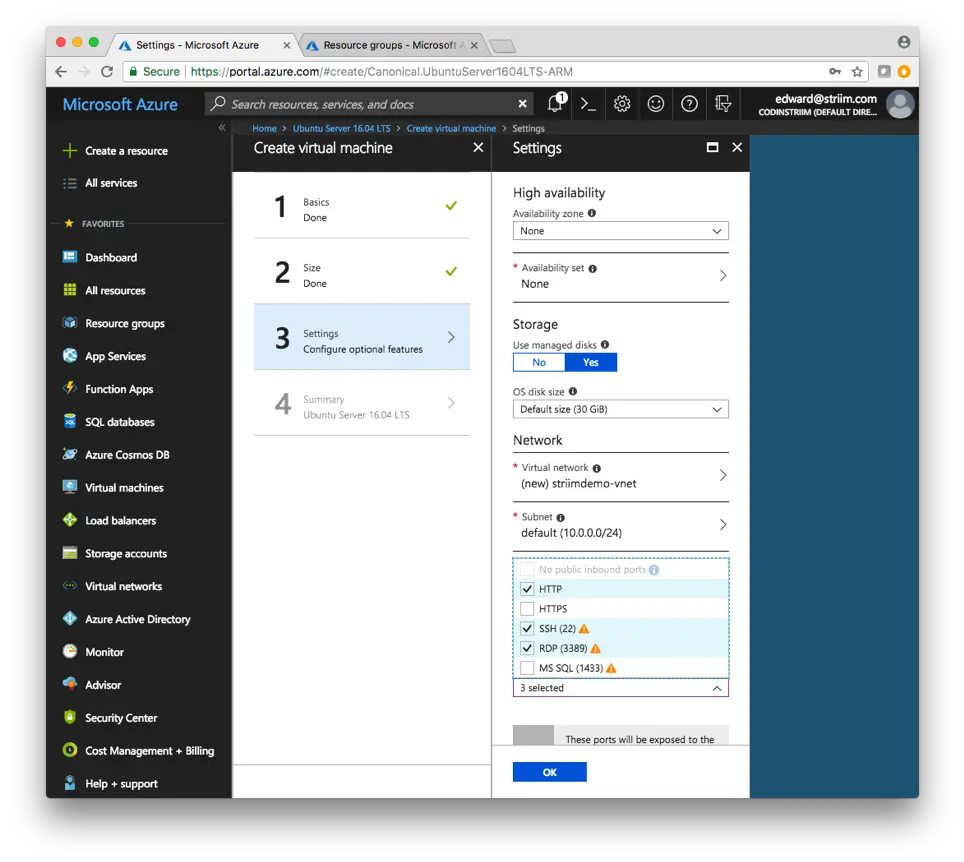
8. The important piece here is to open up the specific ports that you need to access on the VM. Make sure to open HTTP and SSH, as we’ll need them for connecting to the VM and Striim. Select OK when you’re done.
9. Azure will validate your Ubuntu VM, and make sure everything is correct. Make sure everything looks good on your end as well, and select Create.
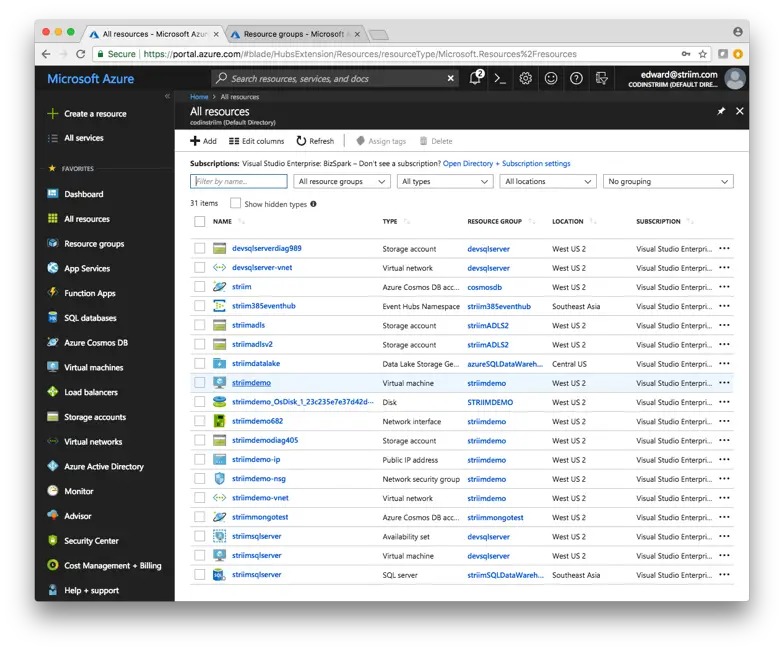
10. It may take awhile to deploy the VM, so just be patient until it is deployed. When the VM is properly deployed, it will show up under All resources in your Azure Dashboard
Download and Configure Striim on your Ubuntu VM
hbspt.cta.load(4691734, ‘e285e62c-9abc-45bb-857d-e8a52f2d9776’, {});
- Navigate to your Azure Dashboard and select the Ubuntu VM you just created.
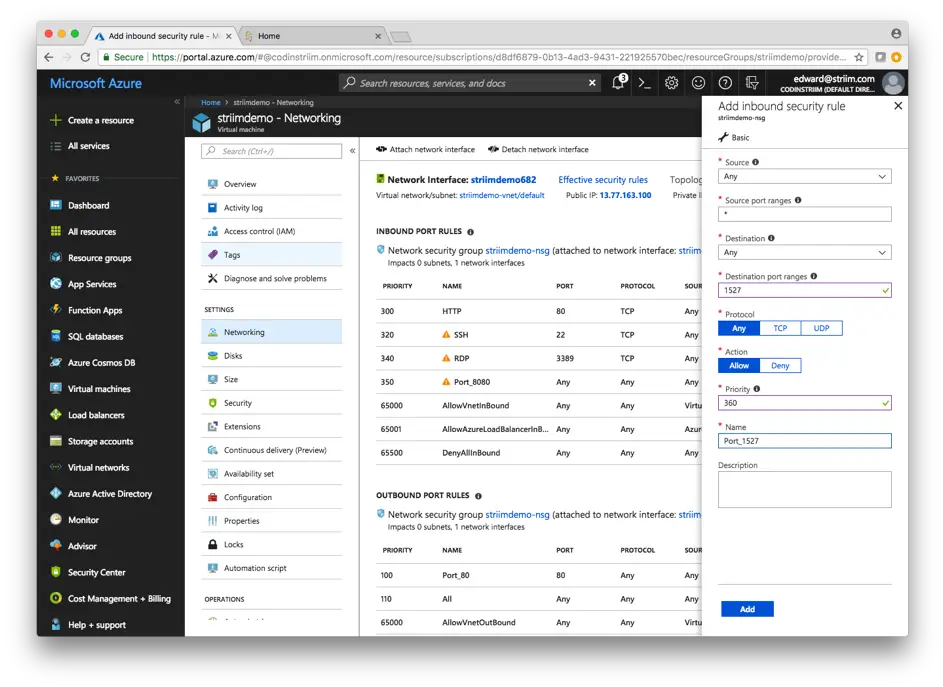
2. First, ensure the correct ports are open in the Networking pane on the Azure portal (Striim needs to have the following ports open: 1527, 5701, 9080, 9300, 49152-65535, and 54237). You can find more information about the required ports in Installation and Configuration Guide of Striim’s documentation.
3. Select Connect in the top middle of the screen and copy the Login using VM local account address.
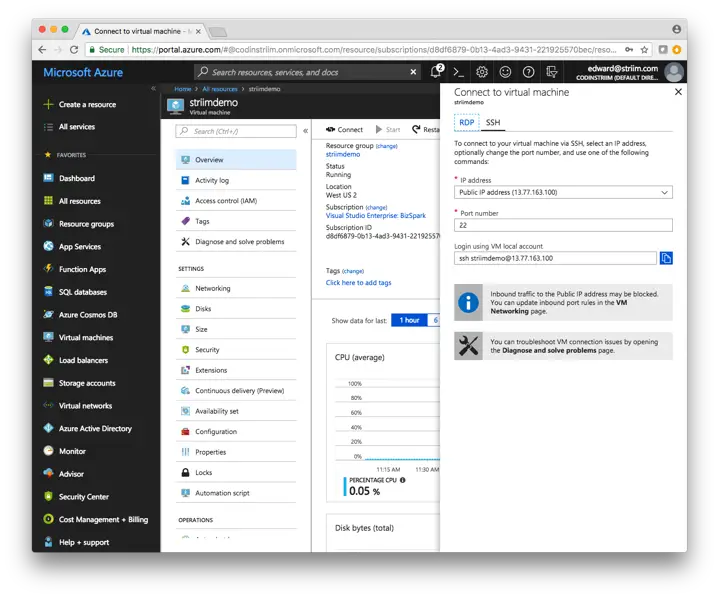
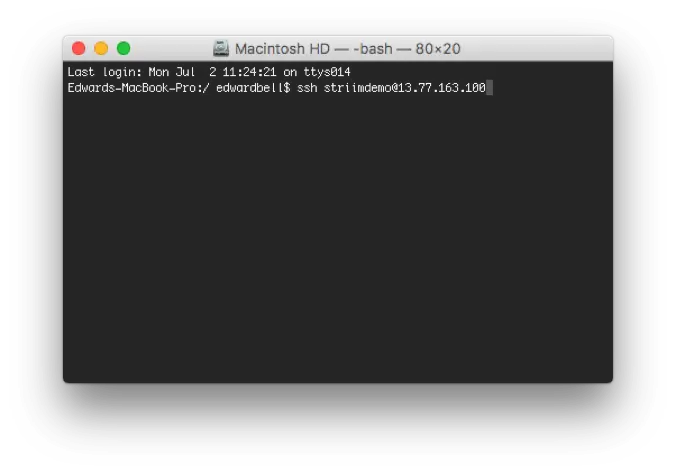
4. Note: these instructions are for a Mac. Open up a new Terminal window and paste the SSH command you copied earlier from the Azure portal. There is a slightly different process on Windows to SSH into a VM, and a quick Google search should get you started with PuTTY or other tools.
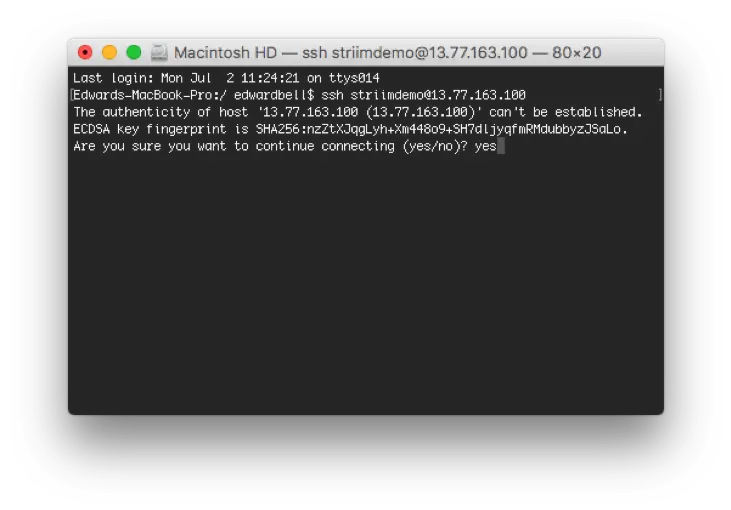
5. Type yes to continue, and enter the password you created through the Azure portal
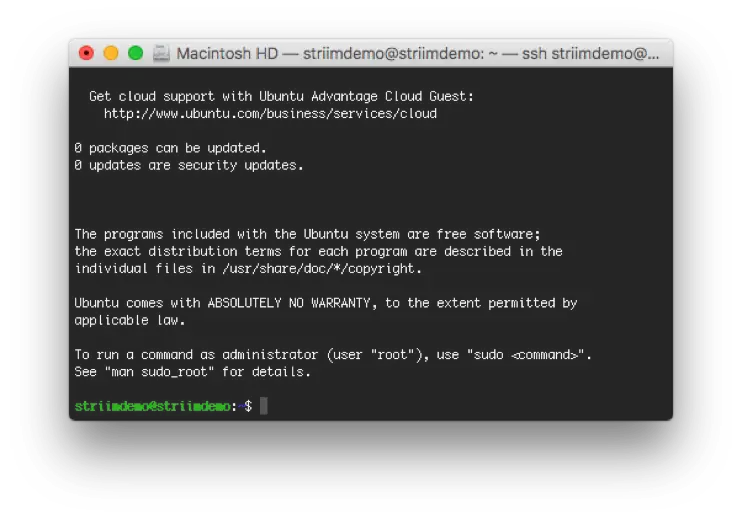
6. Congratulations! Now you’re logged in to the VM you created on Azure. From here, first we’ll install Java, and then download and install Striim.
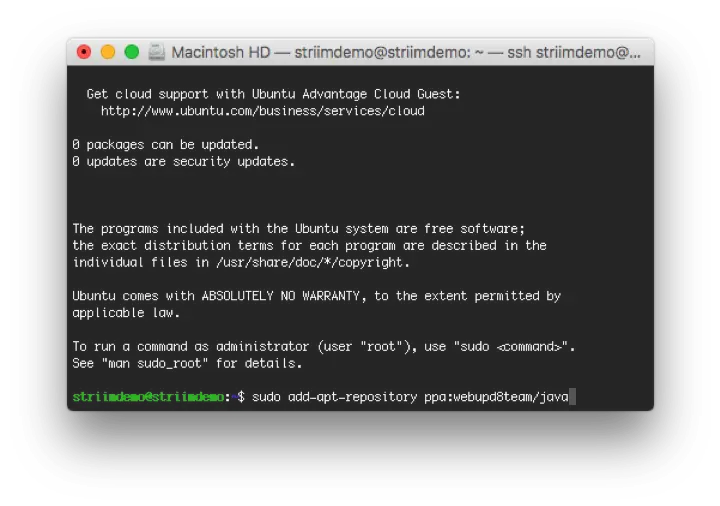
7. Following the instructions here: https://medium.com/coderscorner/installing-oracle-java-8-in-ubuntu-16-10-845507b13343, install Oracle’s JDK 8. First, add Oracle’s PPA to your list of sources, pressing ENTER when necessary:
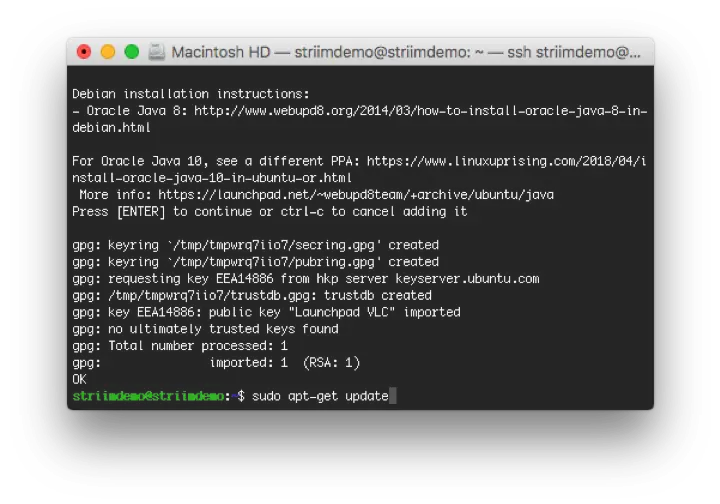
– sudo add-apt-repository ppa:webupd8team/java
8. Update your package repository, typing Y or yes when necessary
– sudo apt-get update
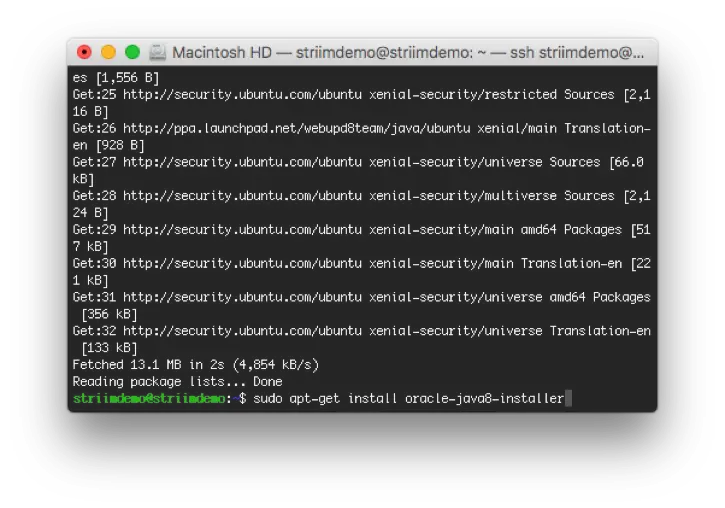
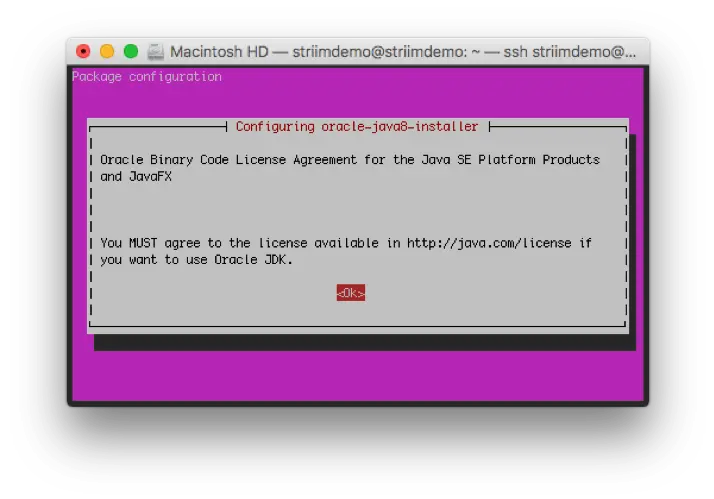
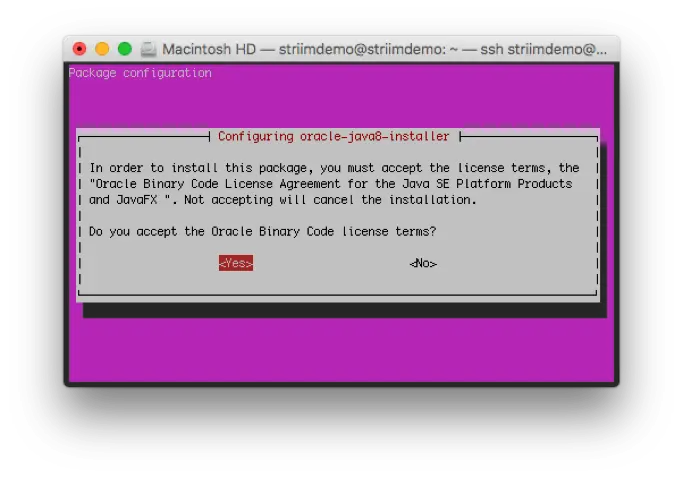
9. Install Java. There will be two screens that pop up during the installation process that require you to accept Oracle’s license terms
– sudo apt-get install oracle-java8-installer
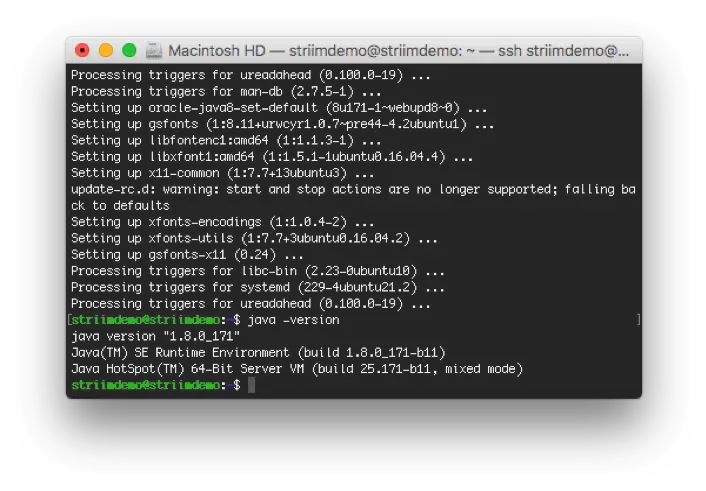
10. To make sure Java installed correctly, type java -version to ensure that Oracle JDK 1.8.0 is installed.
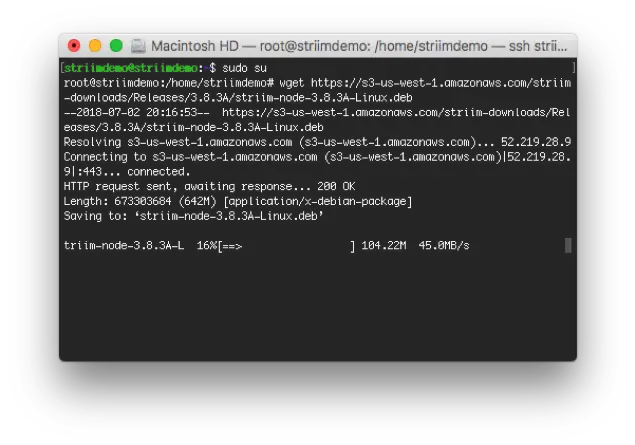
11. Now that Java is installed, we can install Striim on your Azure VM. First, download Derby using wget.
– sudo su
– wget https://s3-us-west-1.amazonaws.com/striim-downloads/Releases/3.8.3A/striim-dbms-3.8.3A-Linux.deb
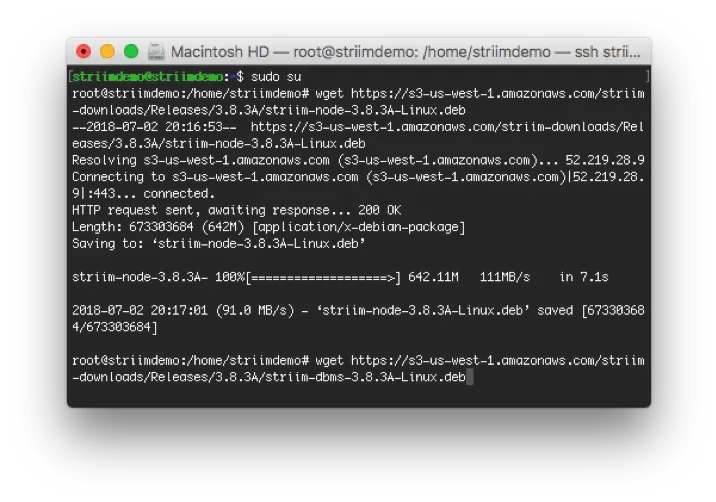
12. Download Striim
– wget https://s3-us-west-1.amazonaws.com/striim-downloads/Releases/3.8.3A/striim-node-3.8.3A-Linux.deb
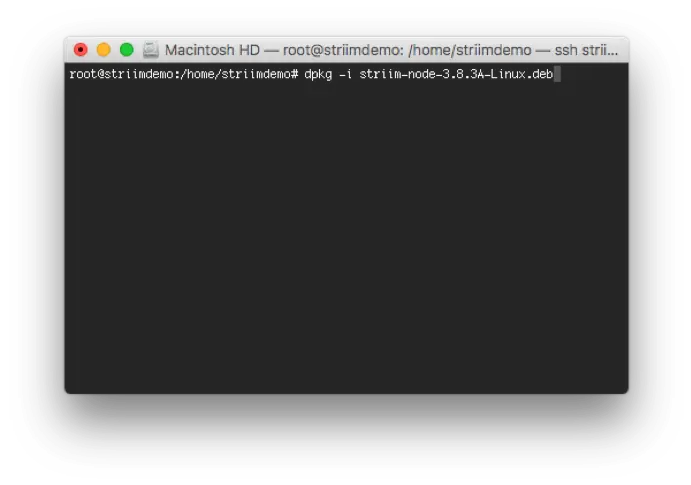
13. Now, install both the Striim and Derby packages
dpkg -i striim-node-3.8.3A-Linux.deb
dpkg -i striim-dbms-3.8.3A-Linux.deb

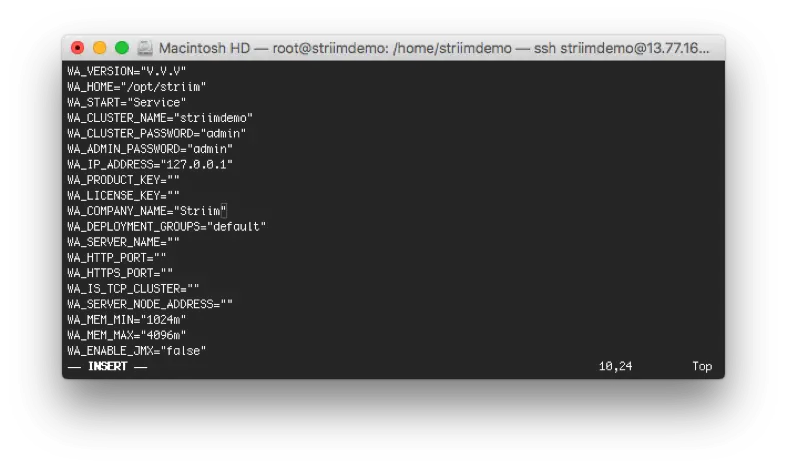
14. Edit the /opt/striim/conf/striim.conffile using your favorite text editor, and enter the following fields at the top of the file:
– WA_CLUSTER_NAME: choose a unique name for the new cluster (unique in the sense that it is not already used by any existing Striim cluster on the same network)
– WA_CLUSTER_PASSWORD: will be used by other servers to connect to the cluster and for other cluster-level operations
– WA_ADMIN_PASSWORD: will be assigned to Striim’s default admin user account
– WA_IP_ADDRESS: the IP address of this server to be used by Striim
– WA_PRODUCT_KEY and WA_LICENSE_KEY: If you have keys, specify them, otherwise leave blank to run Striim on a 30-day trial license.
– NOTE: You cannot create a multi-server cluster using a trial license.
– WA_COMPANY_NAME: If you specified keys, this must exactly match the associated company name. Otherwise, enter your company name.
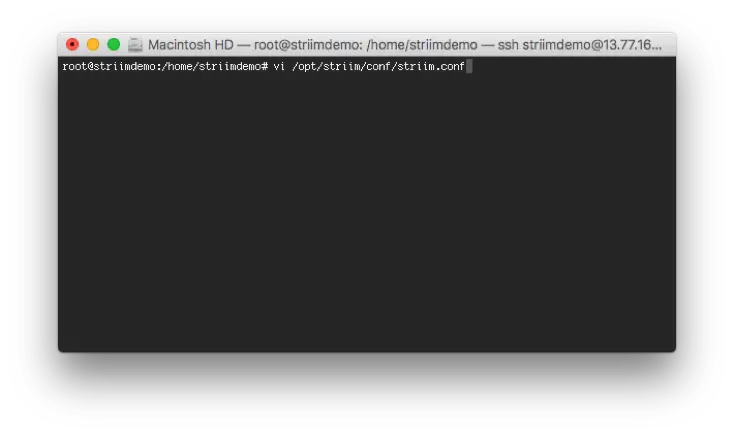
15. If using Vi, execute the following commands:
– vi /opt/striim/conf/striim.conf
– This edits the existing file
– I
– Type/copy and paste your properties
– Press esc key
– Type : x to save file
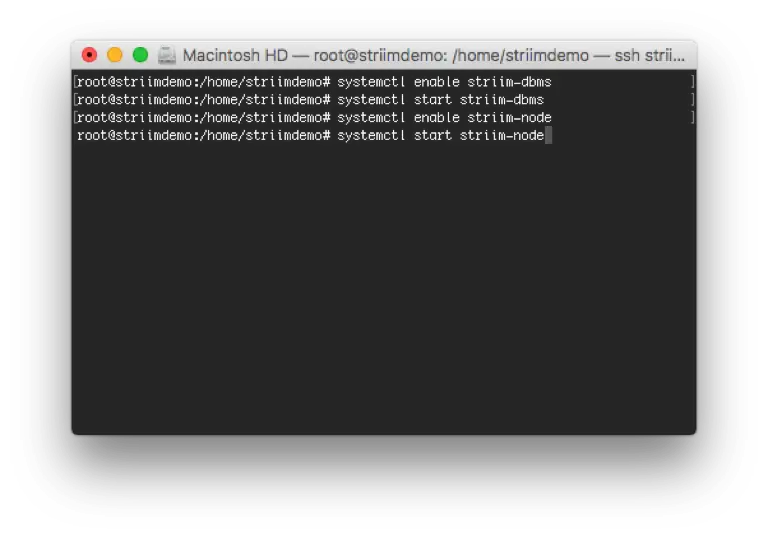
16. Now, we can go ahead and start up Striim as a process. Execute the following commands:
– systemctl enable striim-dbms
– systemctl start striim-dbms
– Wait ten seconds, then
– systemctl enable striim-node
– systemctl start striim-node
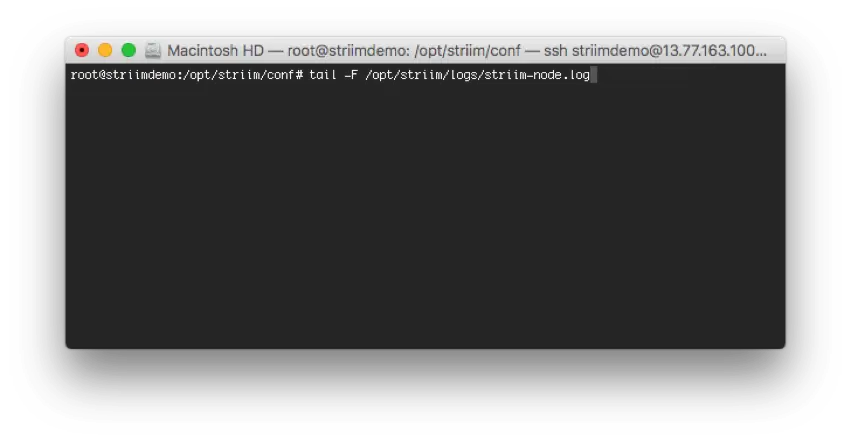
17. Enter the following command and wait for a message similar to: Please go to … to administer, or use console.
– tail -F /opt/striim/logs/striim-node.log
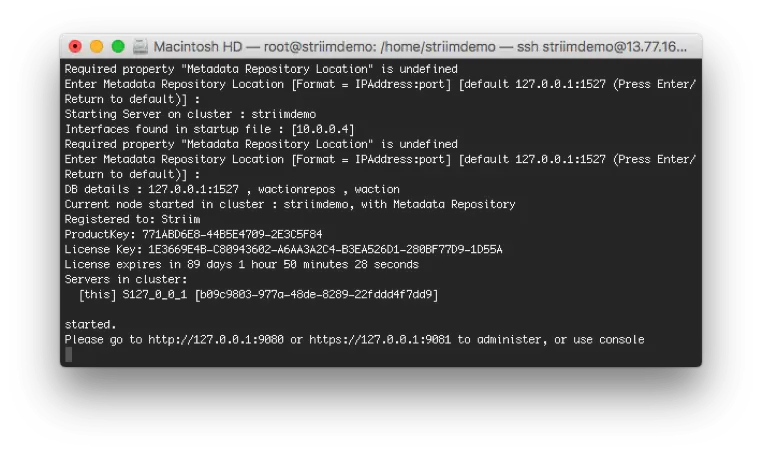
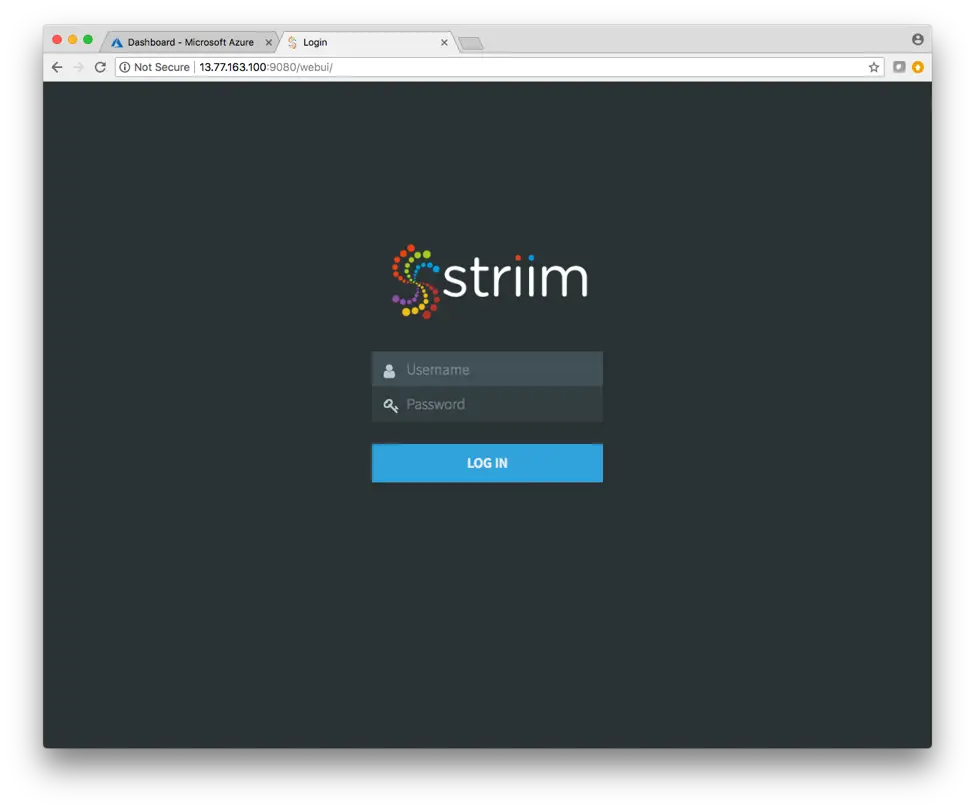
18. Finally, navigate to Striim’s Web UI located at <VM Public IP Address>:9080 and login with the information you provided during the setup process. If you’re new to Striim, we recommend you go through the quickstart located under the ? Help > Documentation button in the upper right hand corner of the UI.
You are now ready to enable continuous data movement to Azure. For technical assistance, please feel free to contact support@striim.com. For a demo of Striim’s full capabilities around moving data to Azure, please schedule a demo with one of our lead technologists.