Tutorial
Streaming Data to Snowflake With Striim
Experiment with real-time ingest in Snowflake
Benefits
Get Started with Streaming
Learn how to play with real-time streams with simple auto-generated data streams
Real-Time Ingest for Snowflake
Enable true real-time ingest for Snowflake via Snowpipe StreamingActivate Data
With real-time data in Snowflake, you can power data activation workflows fed by fresh data and in-the-moment actions
On this page
Overview
Striim is a unified data streaming and integration product that offers change capture (CDC), enabling continuous replication from popular databases such as Oracle, SQLServer, PostgreSQL and many others to target data warehouses like BigQuery and Snowflake.
In this recipe, we walk you through setting up a streaming application to a Snowflake target. To begin with, we will generate synthetic data to get a feel for Striim’s streaming platform. We use Striim’s Continuous Generator component to generate test data which is then queried by a SQL-based Continuous Query. Follow the steps to configure your own streaming app on Striim.
Core Striim Components
Continuous Generator: A continuous data generator can auto-generate meaningful data for a given set of fields
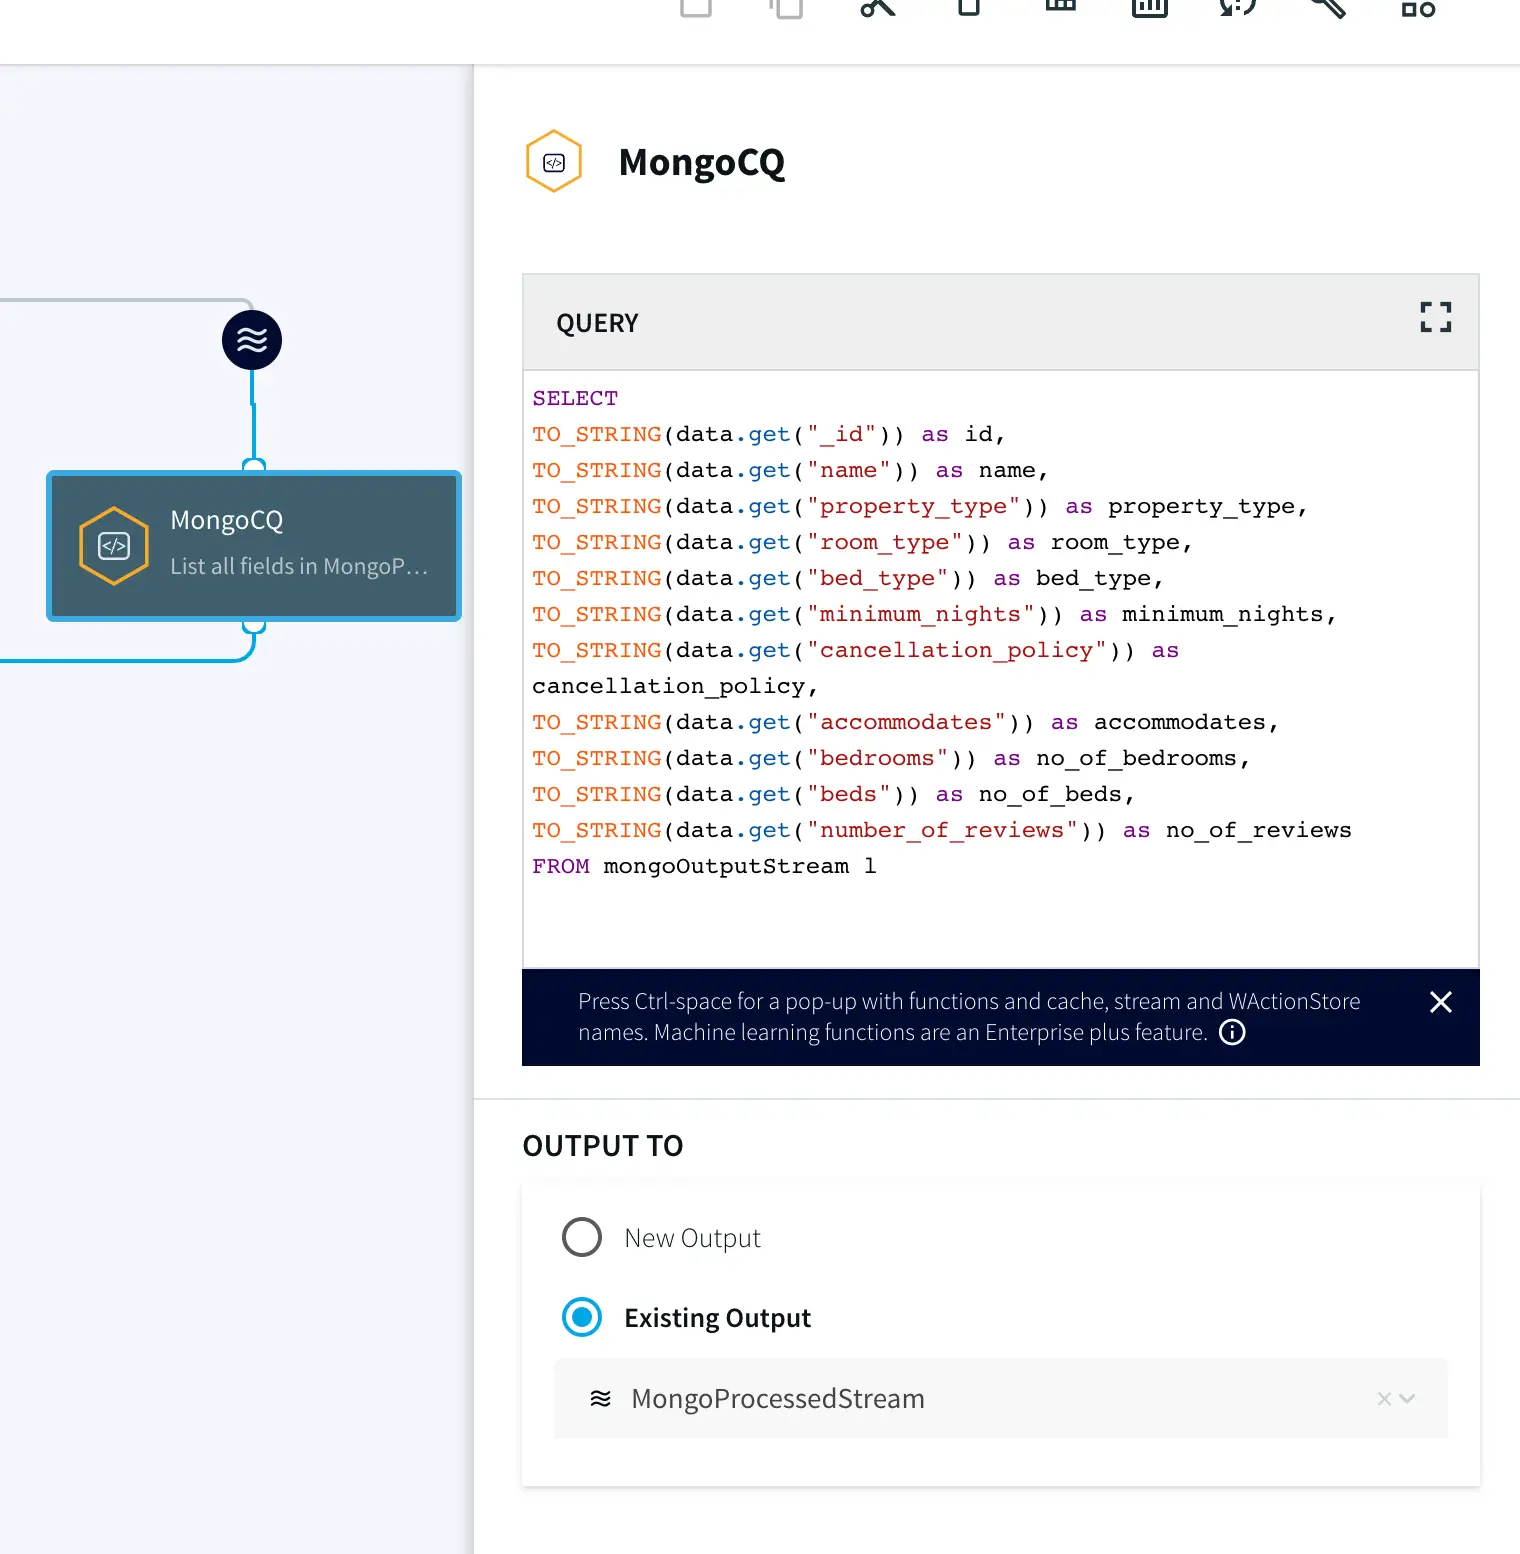
Continuous Query: Striim continuous queries are continually running SQL queries that act on real-time data and may be used to filter, aggregate, join, enrich, and transform events.
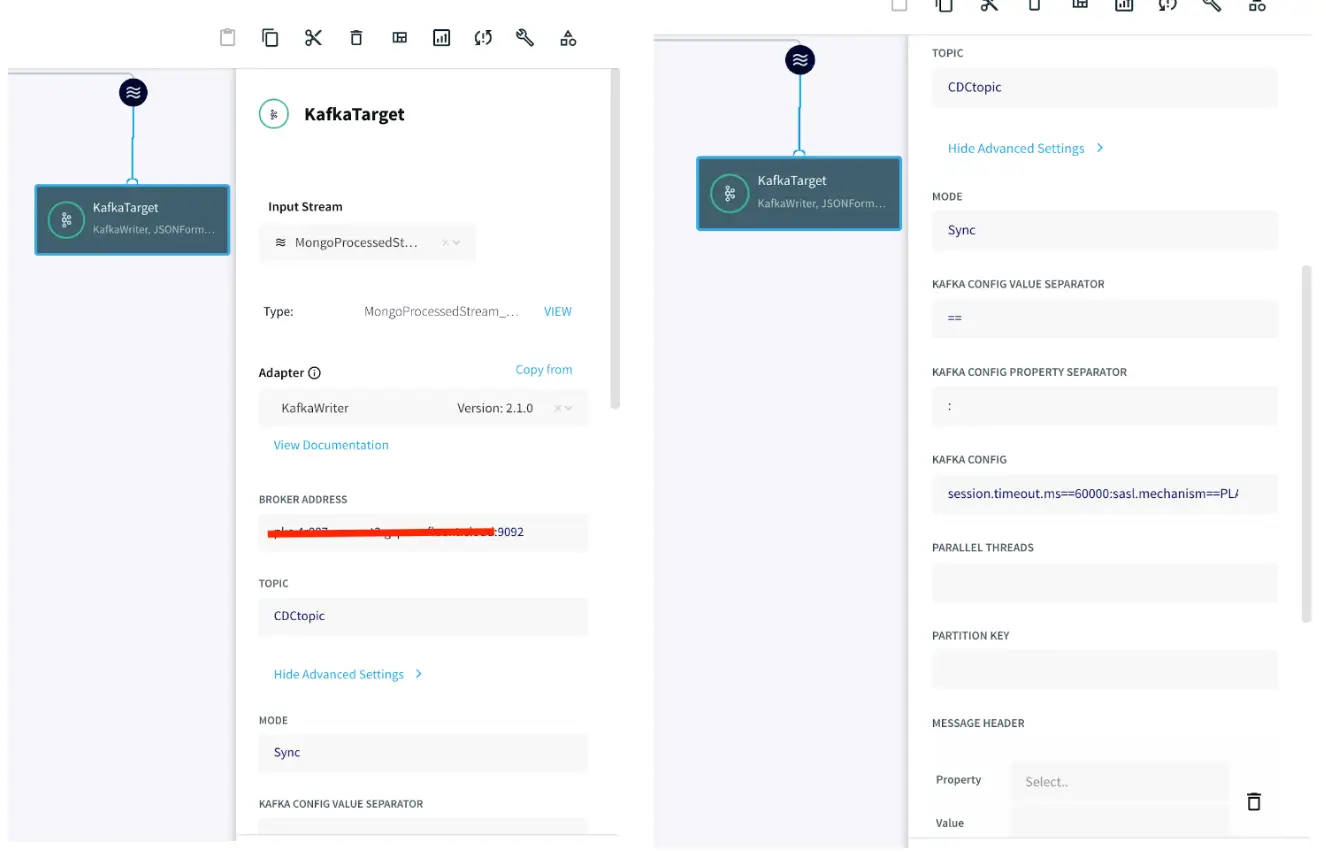
Snowflake Writer: Striim’s Snowflake Writer writes to one or more existing tables in Snowflake. Events are staged to local storage, Azure Storage, or AWS S3, then written to Snowflake as per the Upload Policy setting.
Step 1: Log into your Striim account and select the source
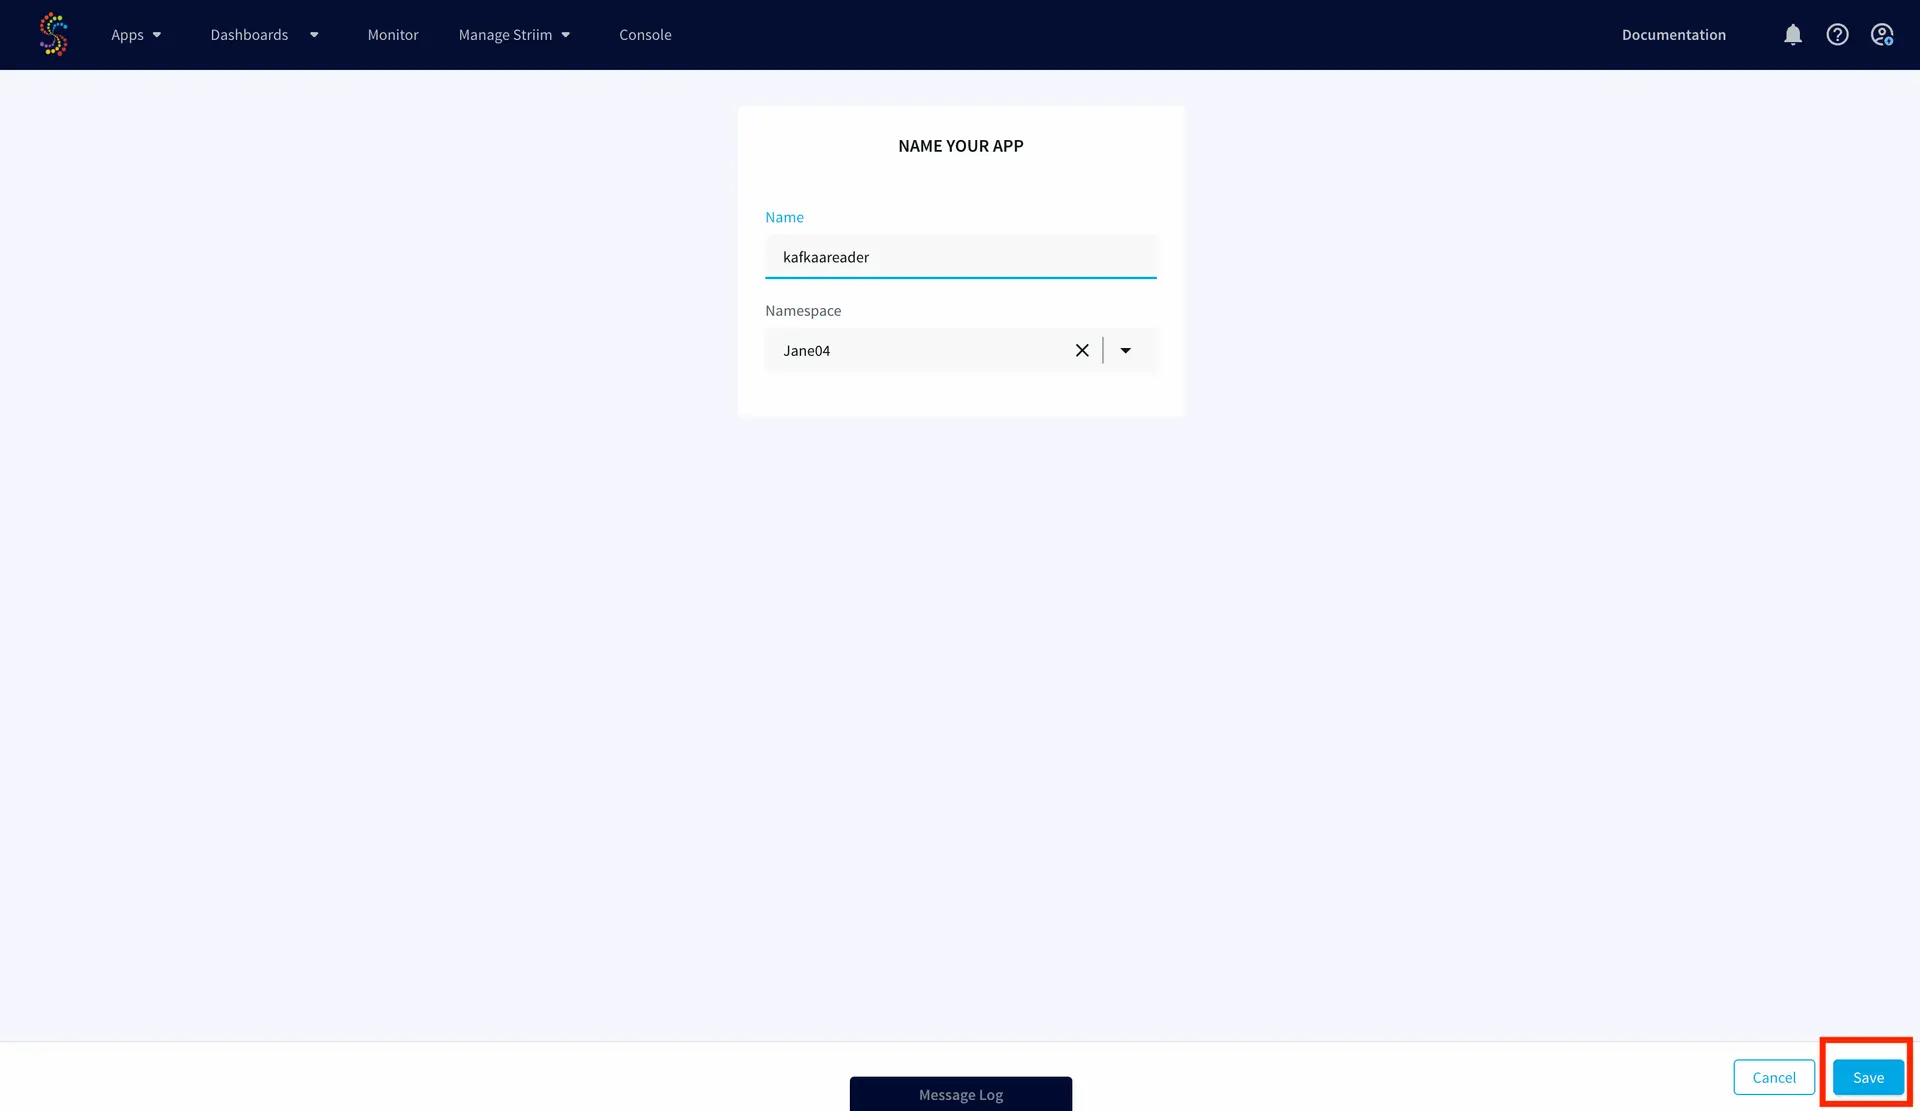
If you do not have an account yet, please go to signup-developer.striim.com to sign up for a free Striim developer account in a few simple steps. You can learn more on how to get started with free Striim Developer here. To configure your source adapter from the flow designer, click on ‘Create app’ on your homepage followed by ‘Start from scratch’. Name your app and click ‘Save’.


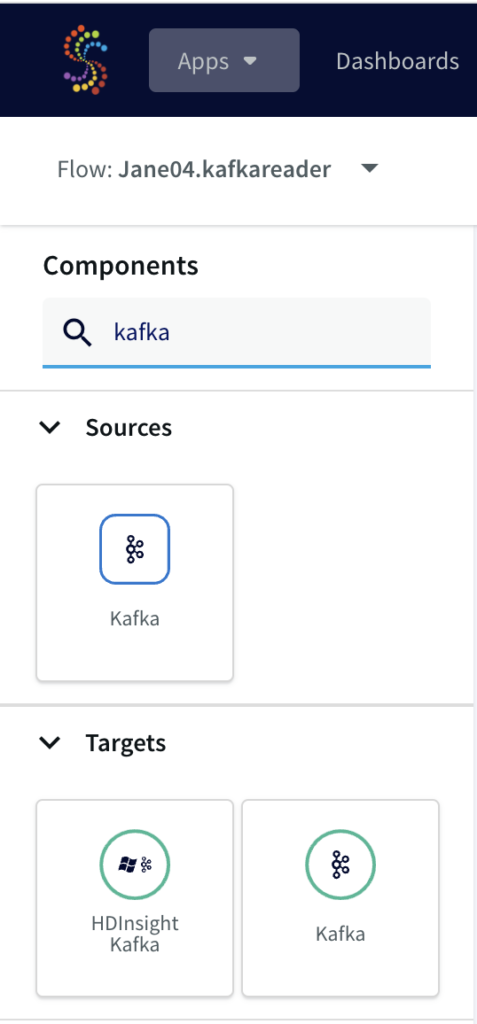
Click on the relevant link on the flow-designer screen to add an auto-generated data source.

You will be prompted to select a simple or an advanced source. For this application, we’ll add a simple source. The simple source has a continuous generator with four fields that are queried by a CQ component of Striim.


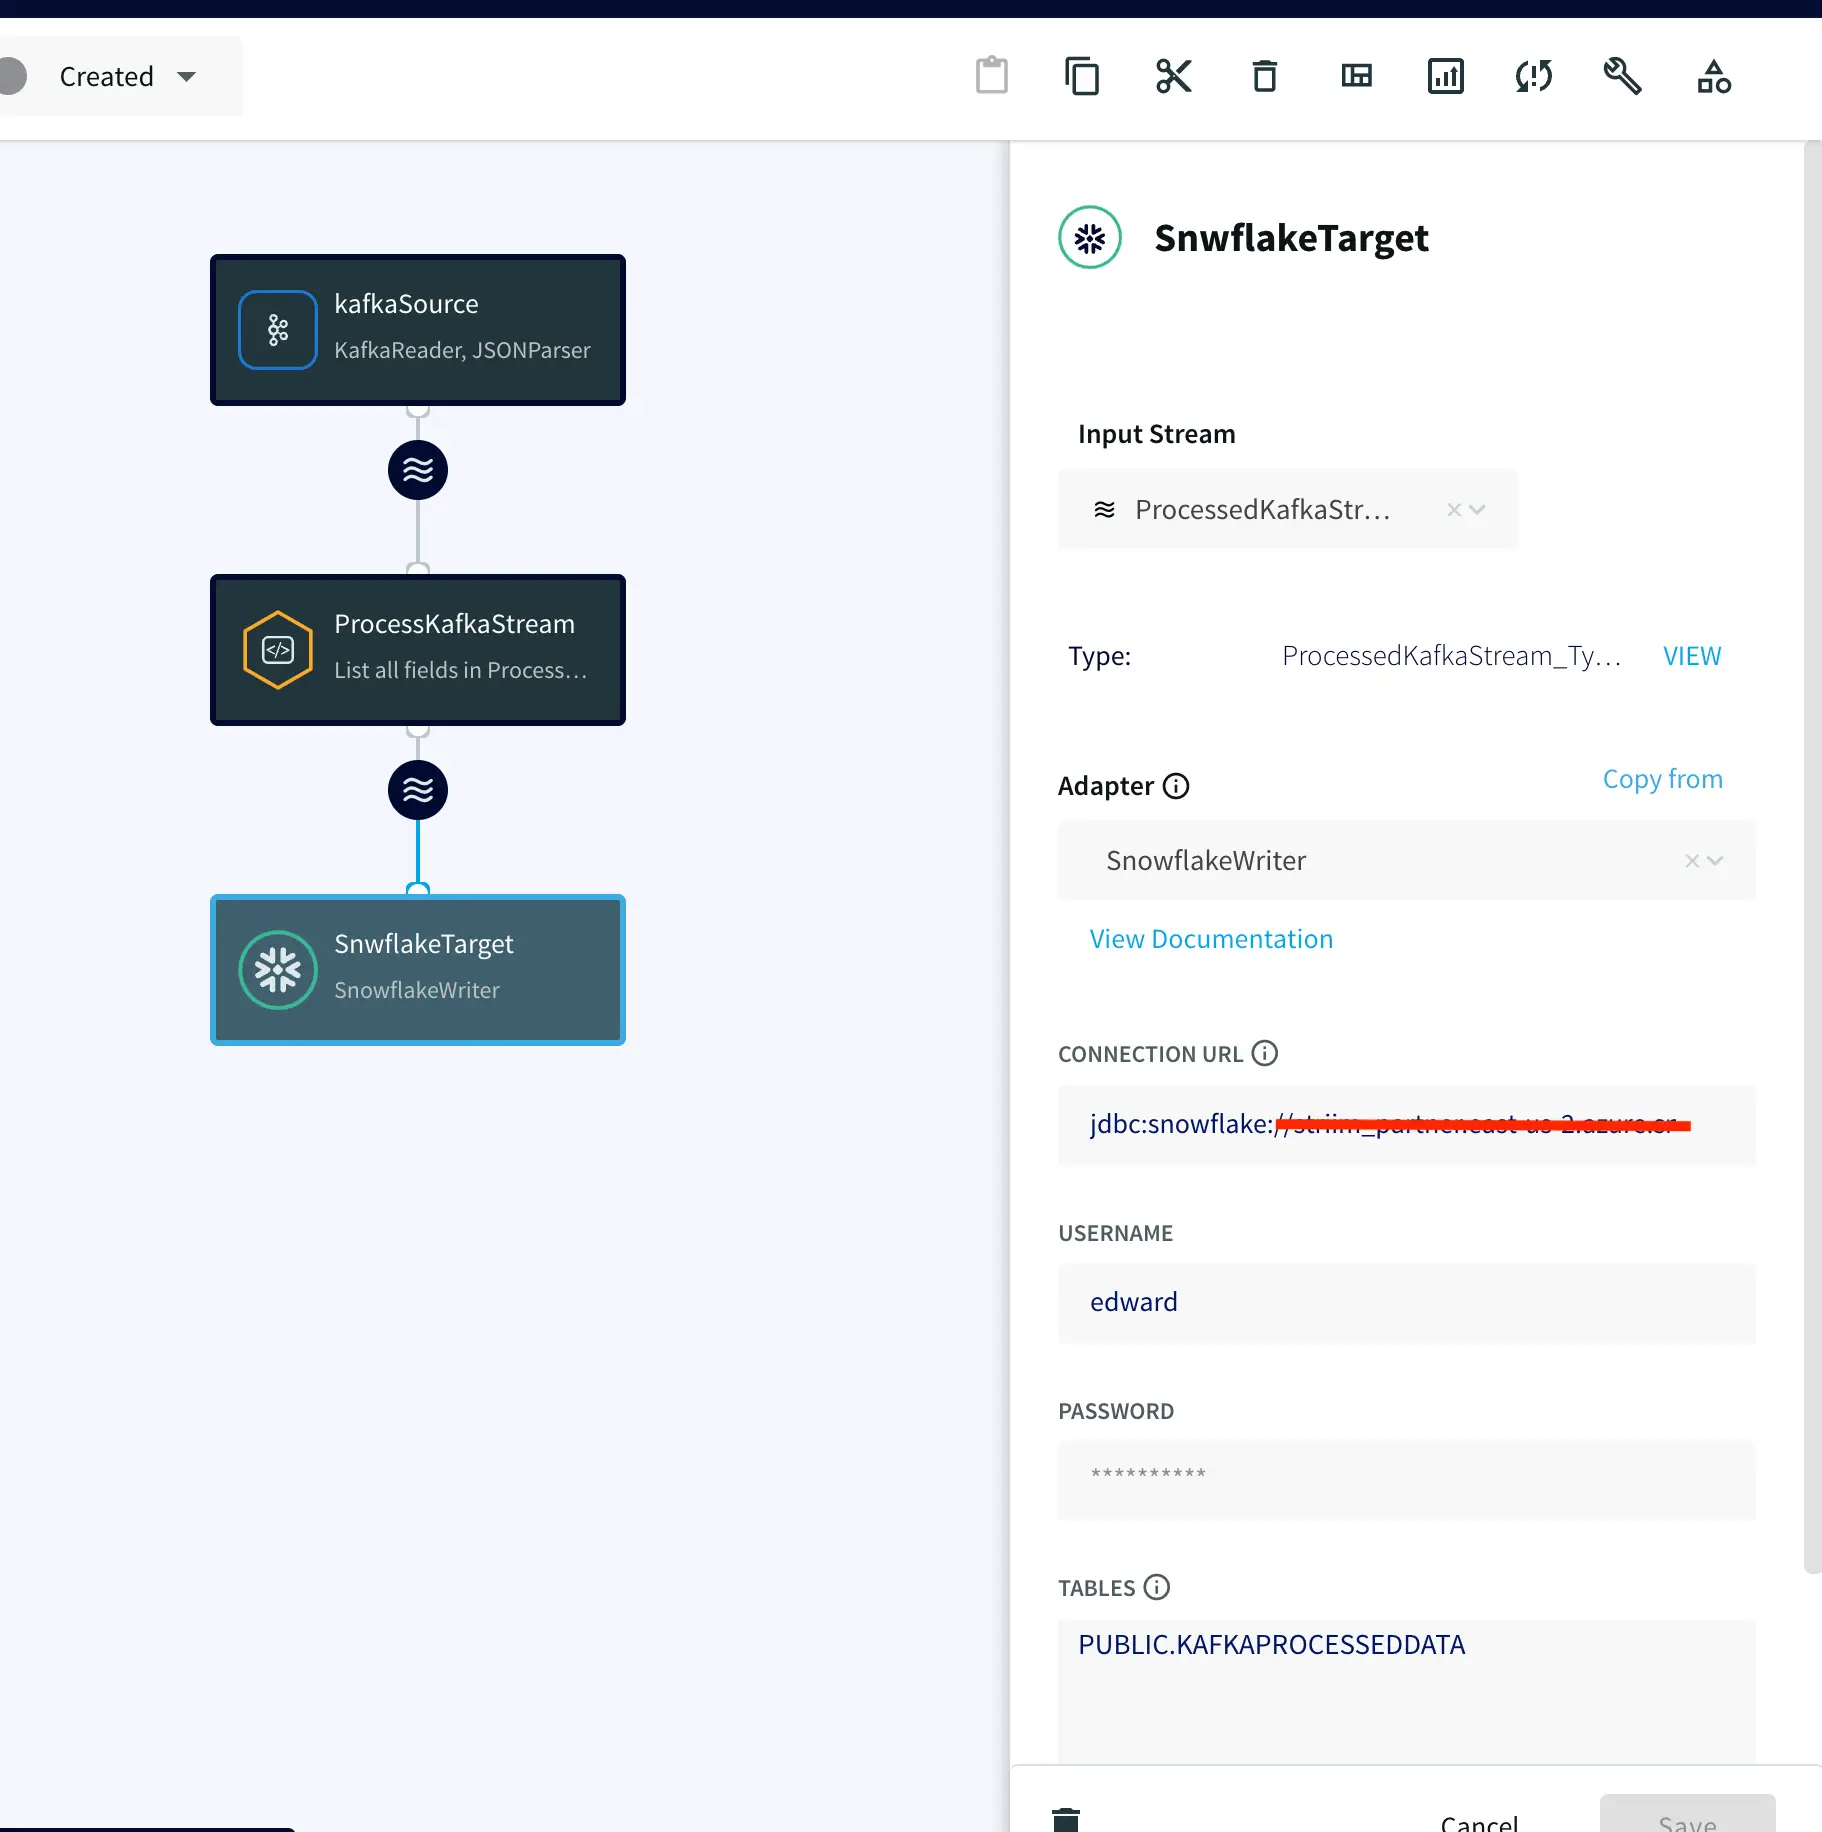
Step 2: Add a target table on your Snowflake Data Warehouse and enter the connection details on the Striim Target Snowflake adapter
On your Snowflake warehouse, add a table with the same fields and data type as the outcoming stream from Continuous Query.

Drag the Snowflake component from the left panel and configure your target. The connection url is of the format
jdbc:snowflake://YOUR_HOST-2.azure.snowflakecomputing.com:***?warehouse=warehouse_name&db=RETAILCDC&schema=public


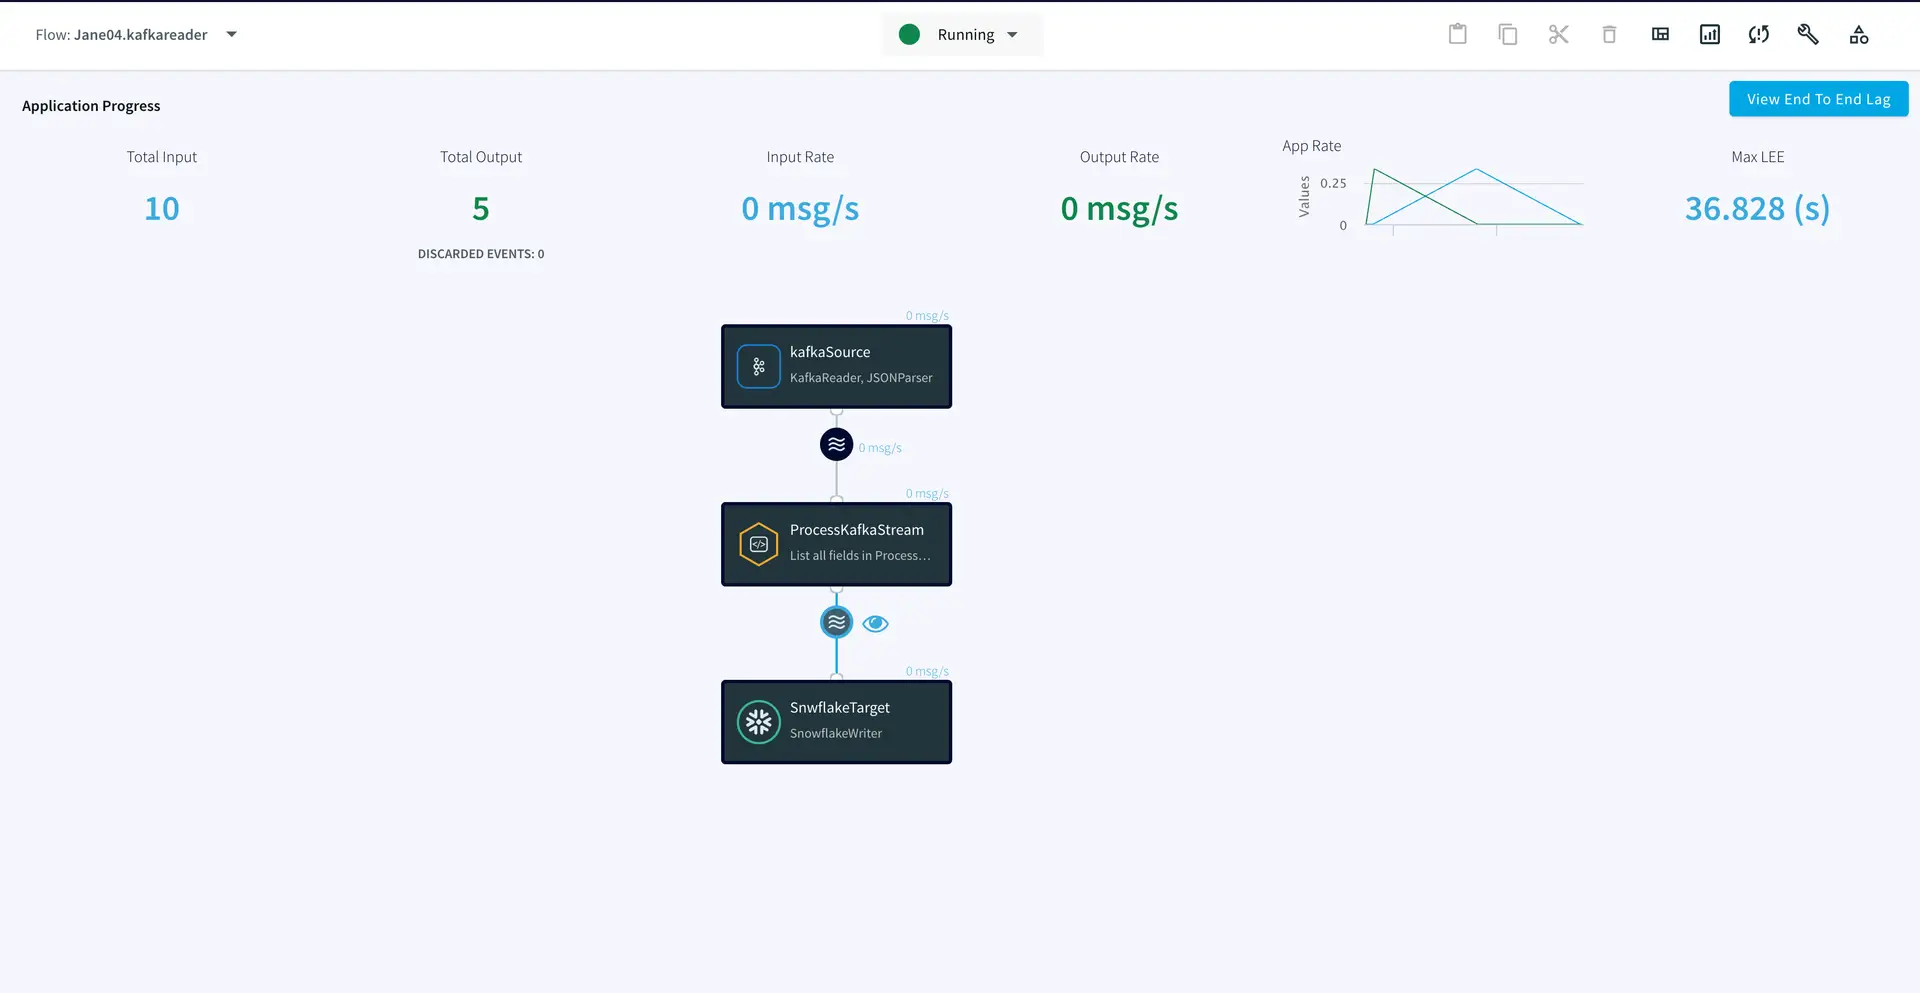
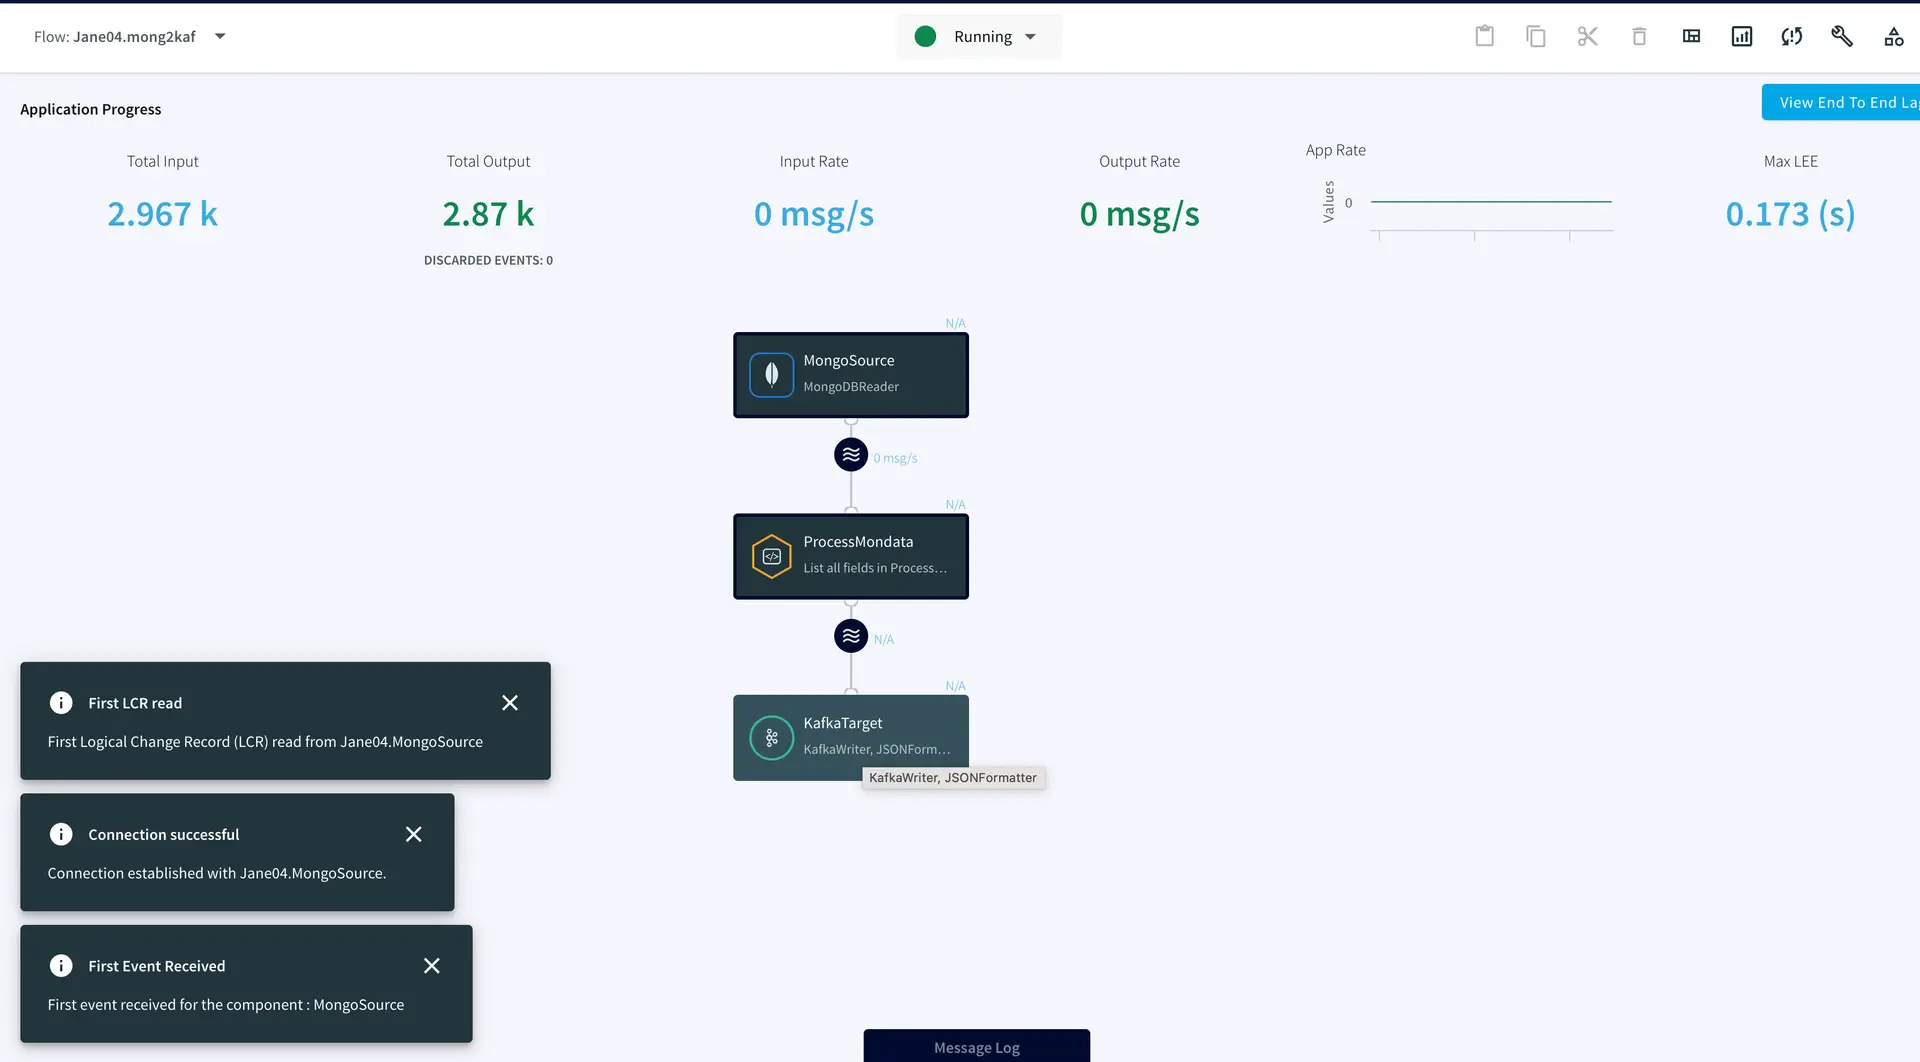
Step 3: Deploy and Run the Striim app
Once the source, target and CQ are configured, select Deploy from the dropdown menu next to Created. Choose any available node and click Deploy. After the app is deployed, from the same drop-down, select StartApp.

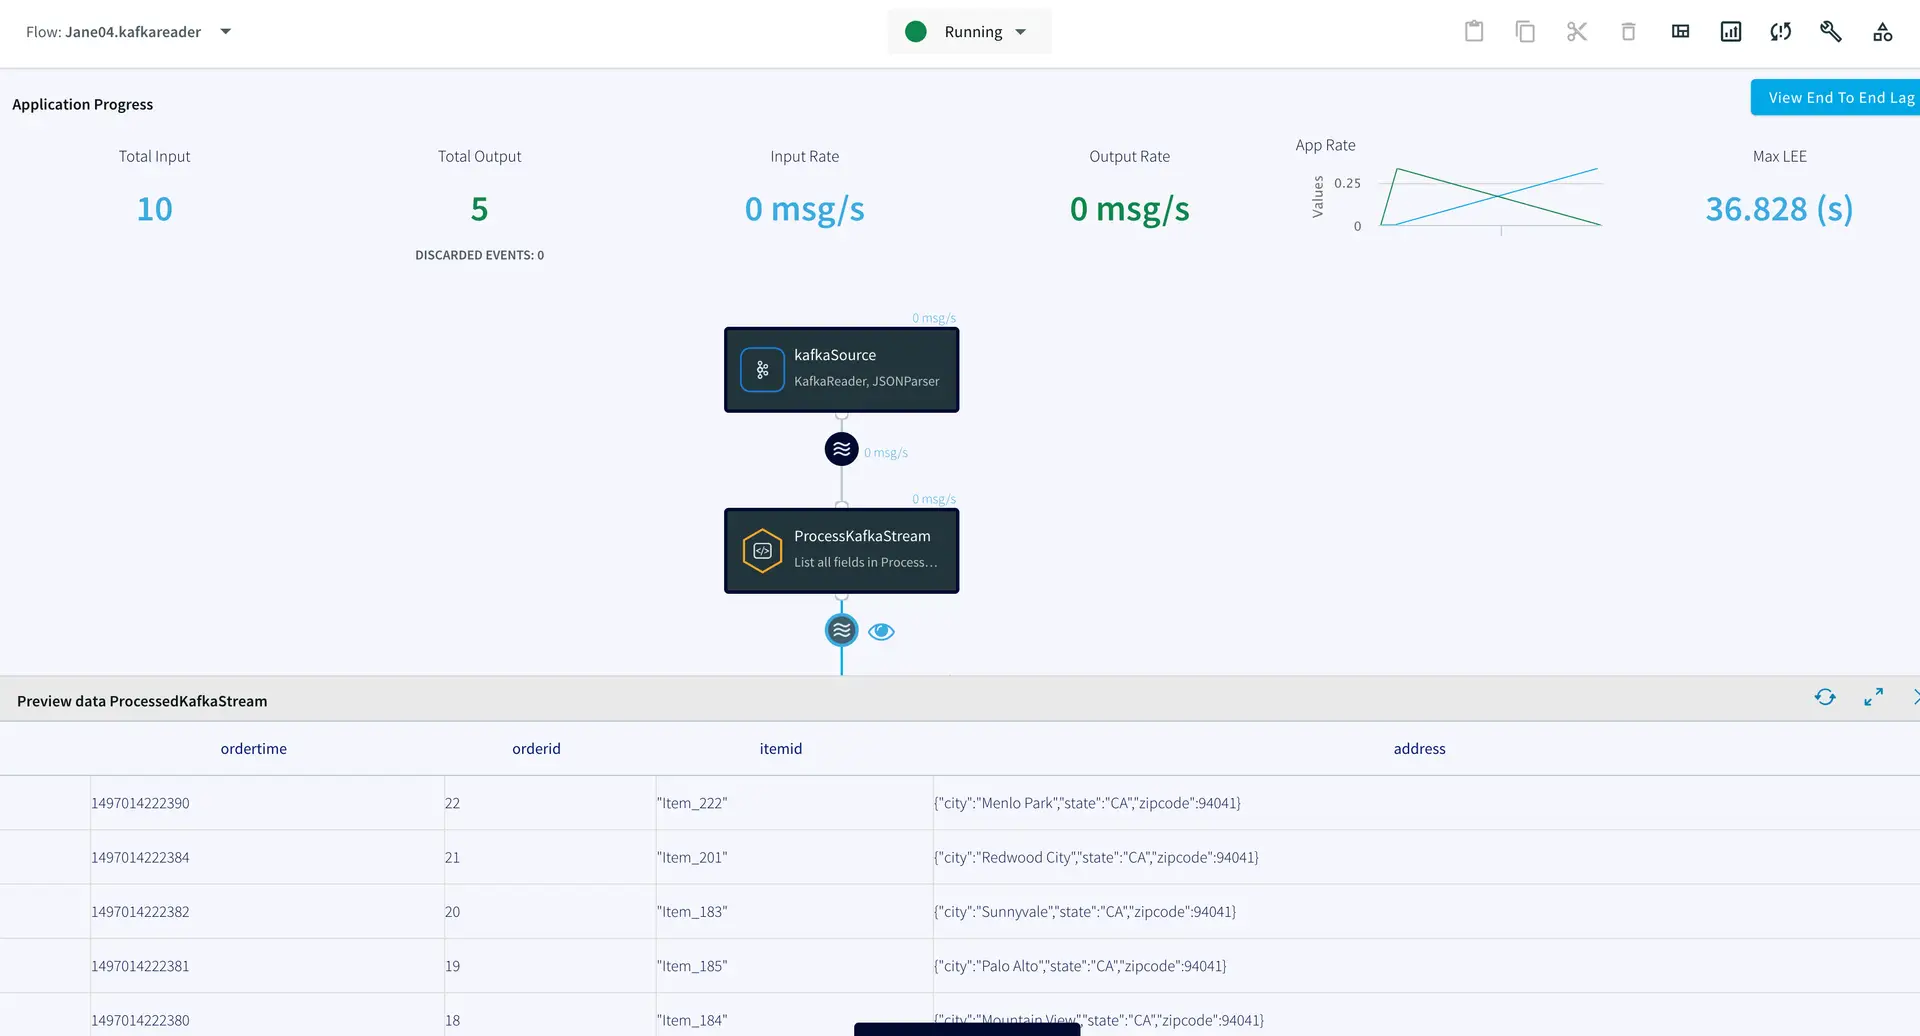
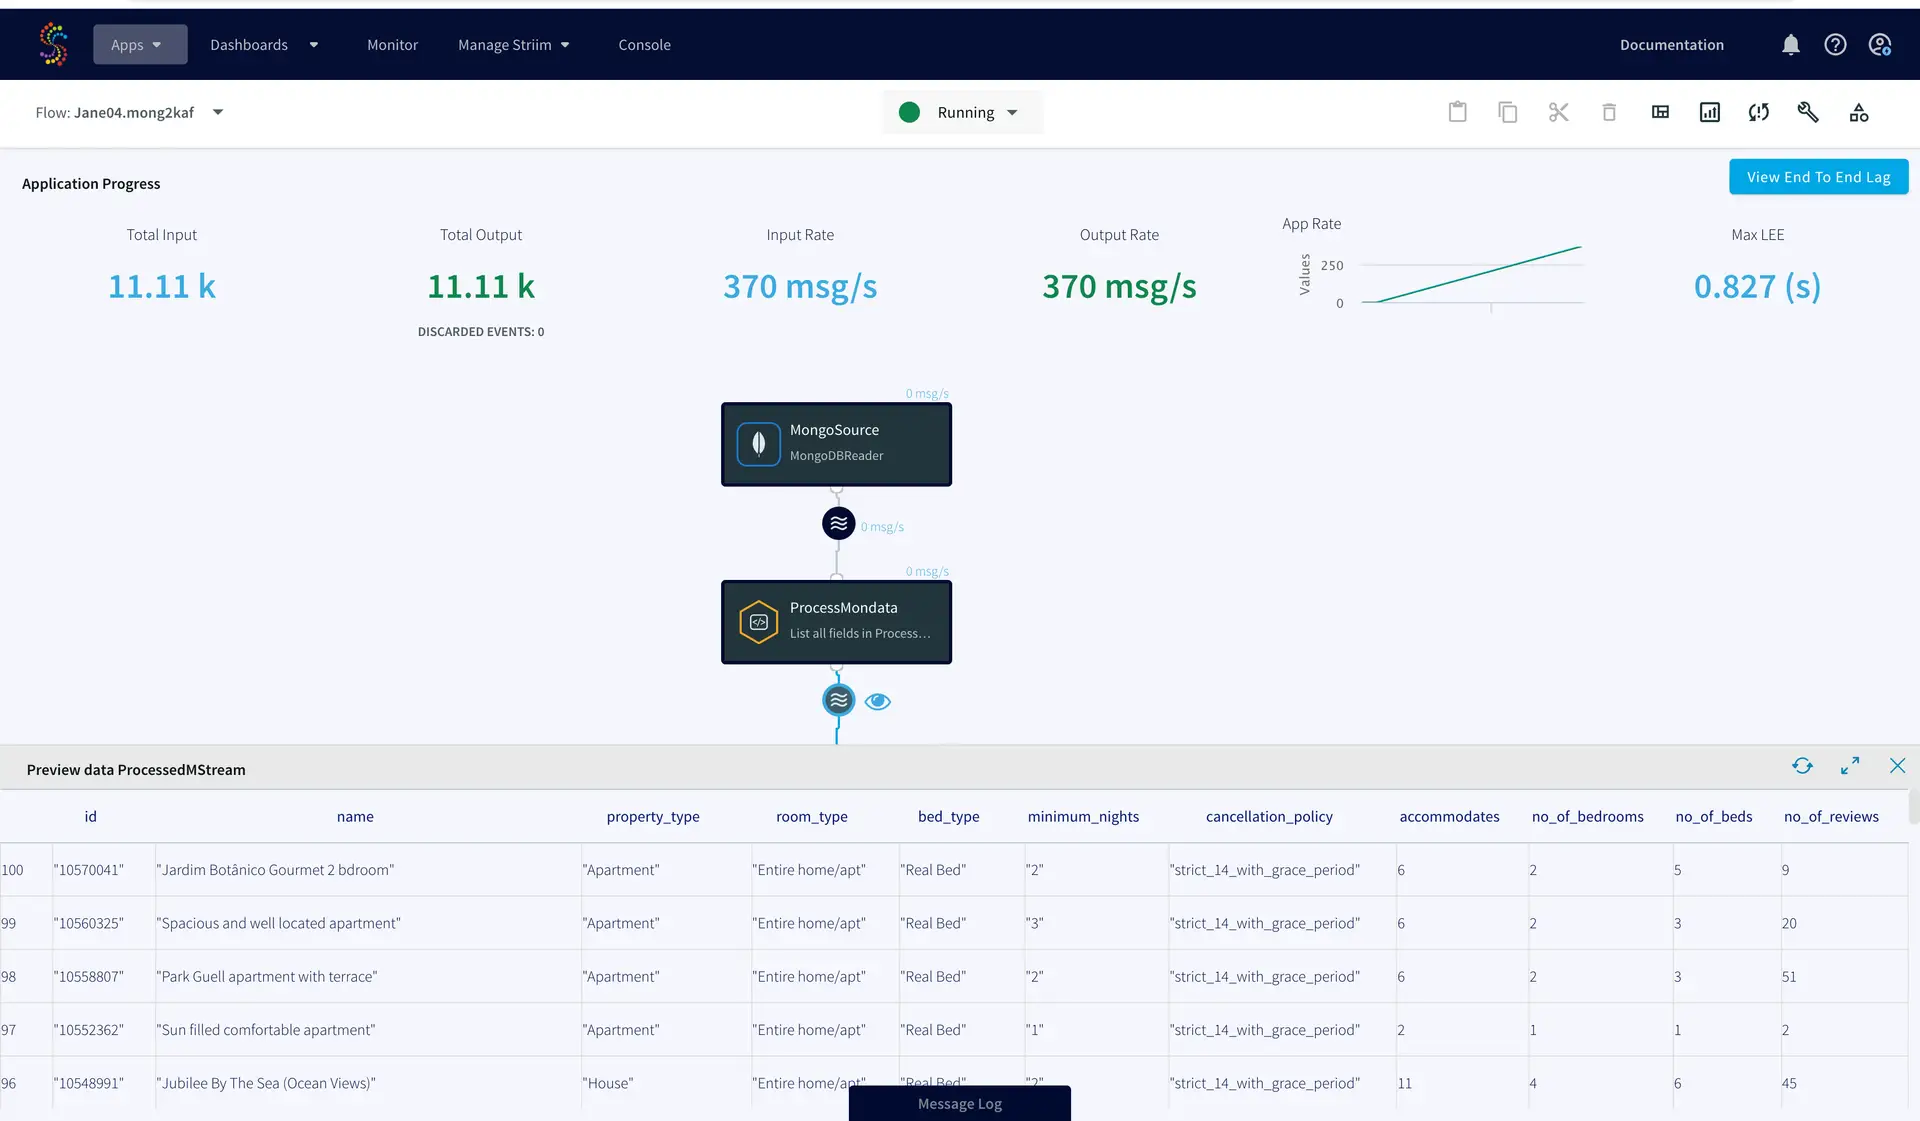
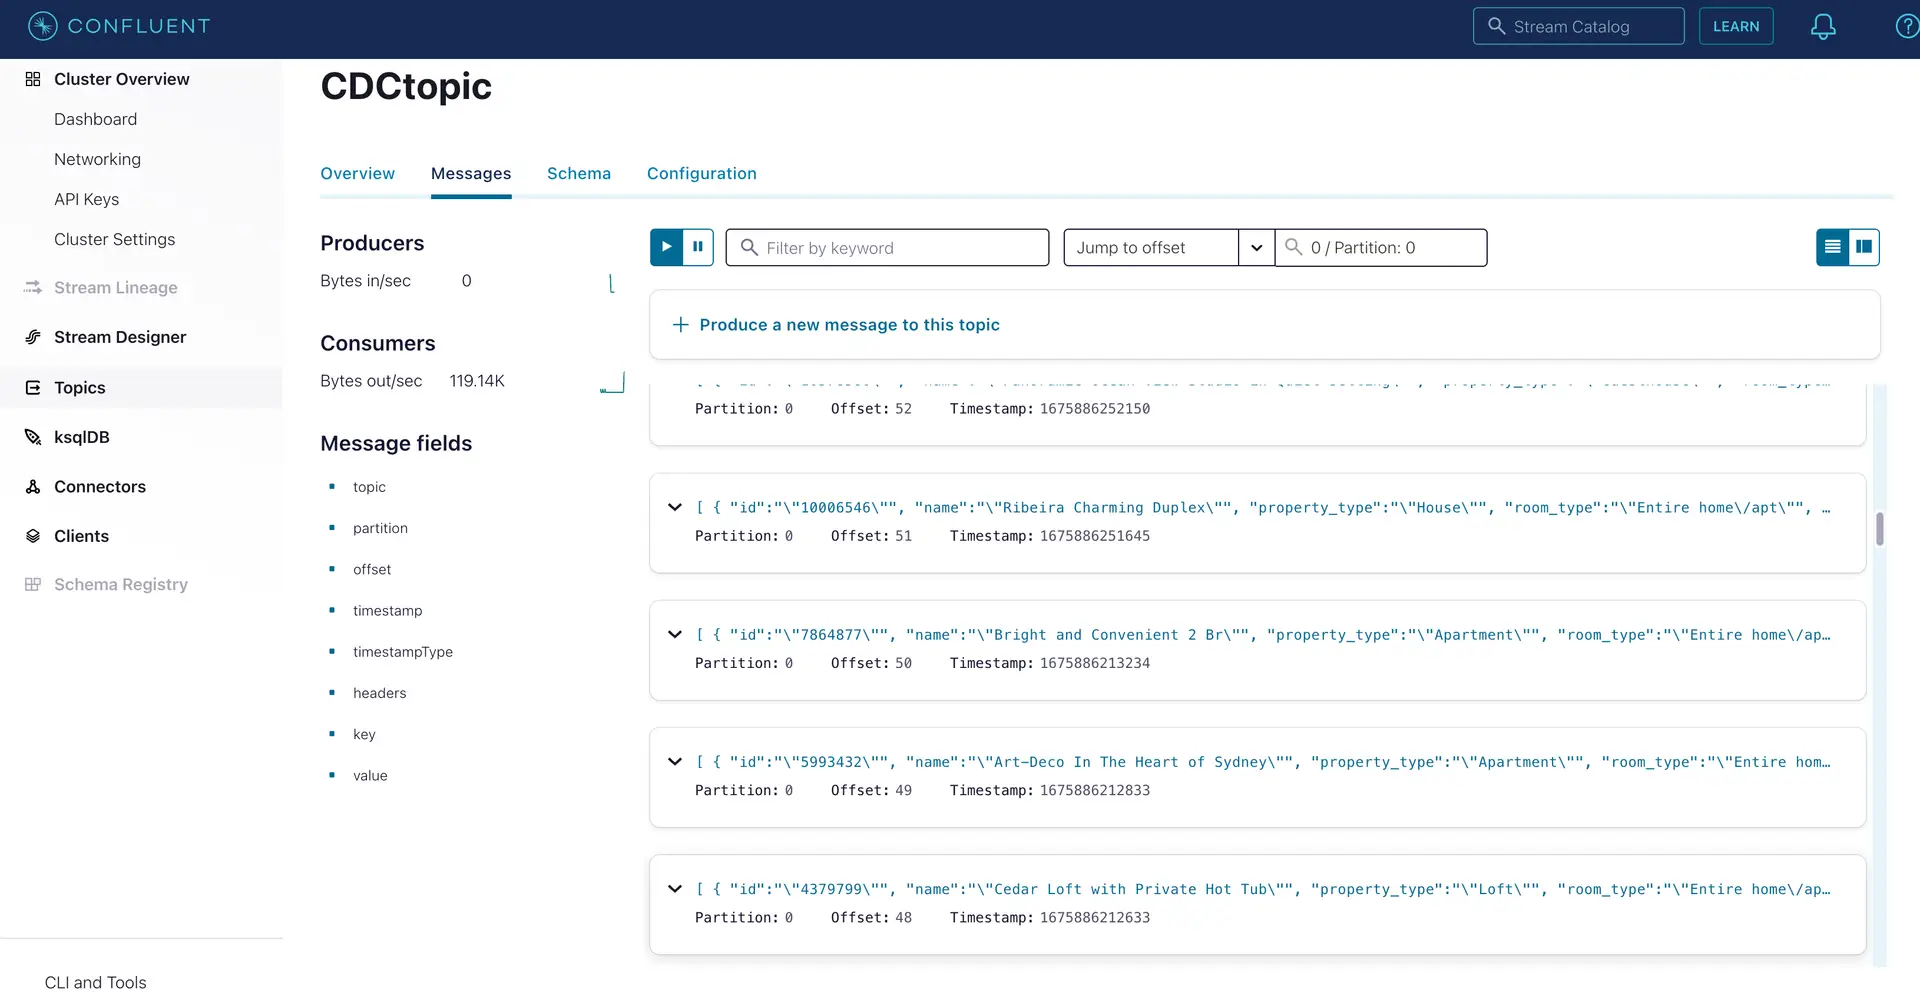
You can preview the processed data by clicking on the ‘eye’ wizard next to the stream component.

Setting Up the Striim Application
Step 1: Log into your Striim account and select the source
To create a free account, go to signup-developer.striim.com
Step 2: Add a target table on your Snowflake Data Warehouse and enter the connection details on Striim Target adapter
Connection url: jdbc:snowflake://<YOUR_SNOWFLAKE_URL:***>?warehouse=warehouse_name&db=RETAILCDC&schema=public
Step 3: Deploy and Run the Striim app
Snowflake Writer: Support for Streaming API (Optional)
The Snowpipe Streaming API is designed to supplement Snowpipe, rather than replace it. It is intended for streaming scenarios where data is transmitted in row format, such as from Apache Kafka topics, rather than written to files. It enables low-latency loading of streaming data directly to the target table using the Snowflake Ingest SDK and Striim’s Snowflake Writer, thereby saving the costs associated with writing the data from staged files.
Configurations:
Users should enable streaming support for their Snowflake account along with key-pair authentication. The Private Key is passed on SnowflakeWriter property by removing header and footer and no line break:
—–BEGIN ENCRYPTED PRIVATE KEY—– ## HEADER
*************************
*******************
…
—–END ENCRYPTED PRIVATE KEY—– ## FOOTER
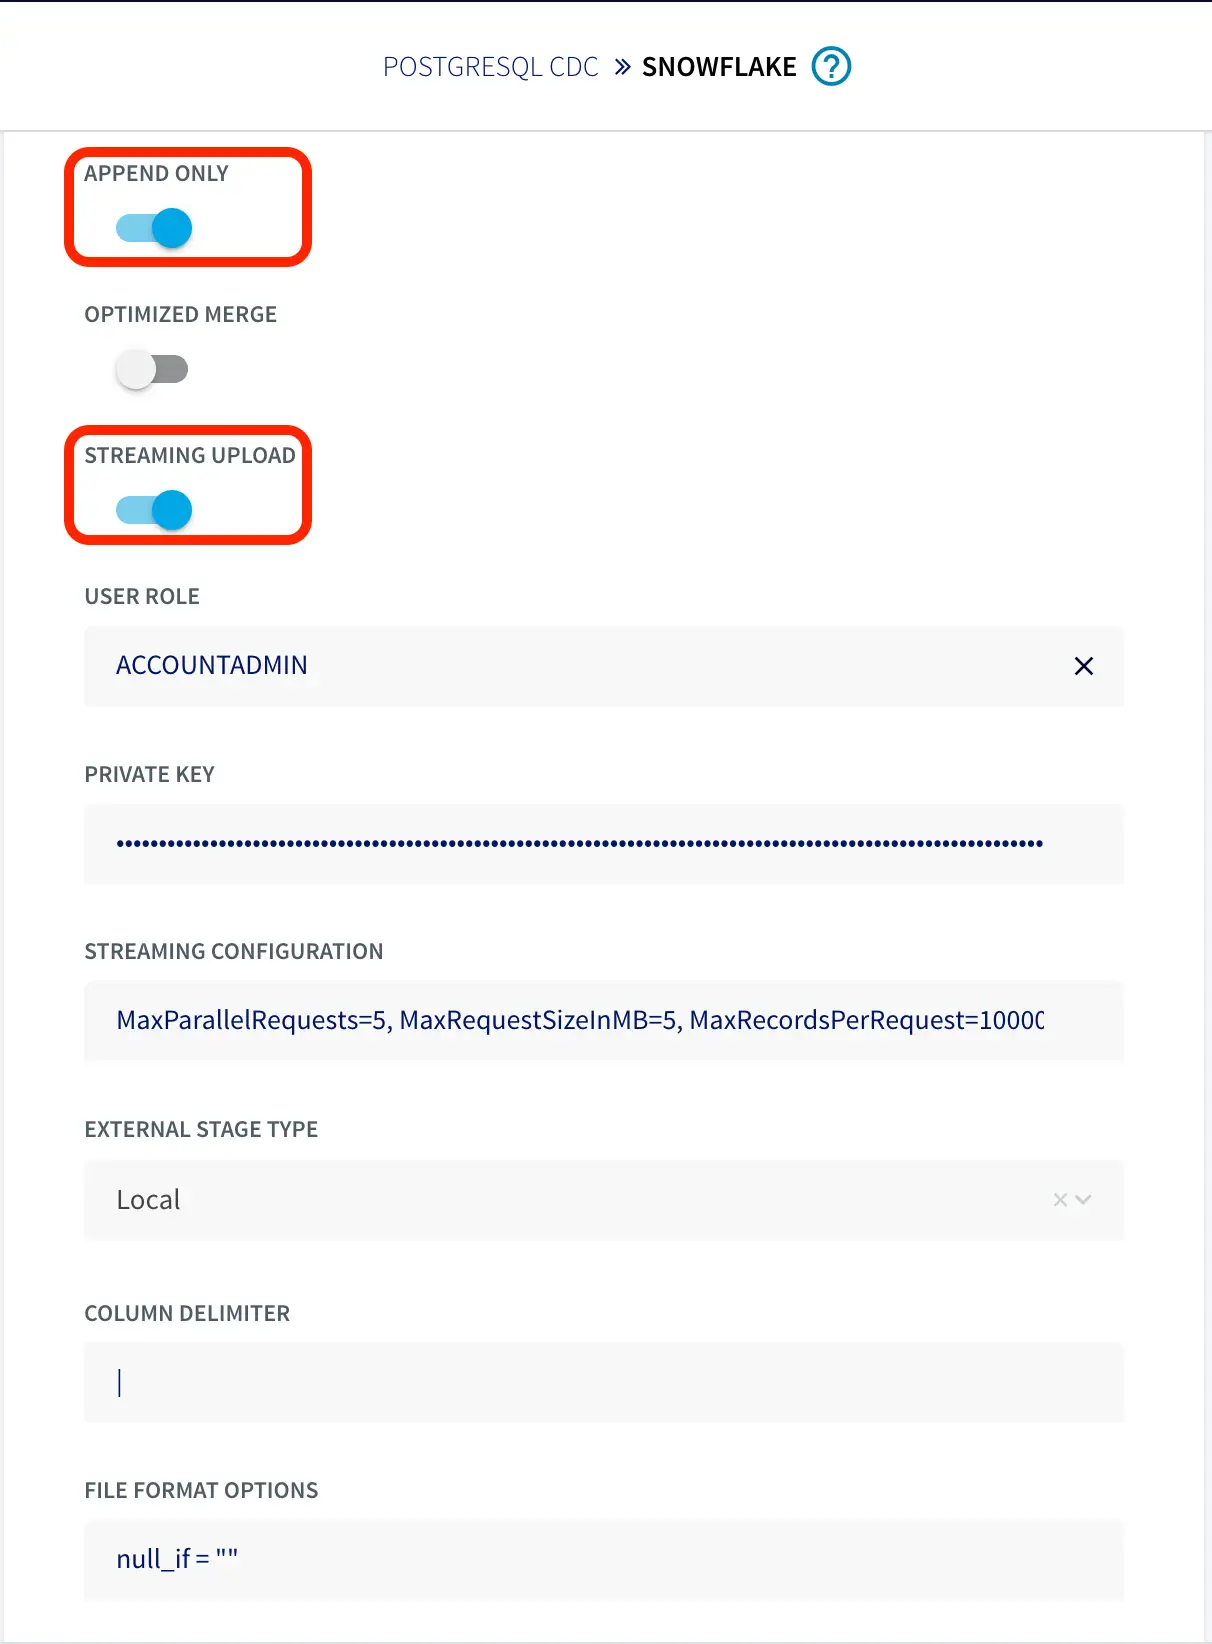
To configure the snowflake writer, under Advanced Settings, enable APPEND ONLY and STREAMING UPLOAD. With this setting, data will be streamed to the target table directly. Enter your user role and private key as shown below.
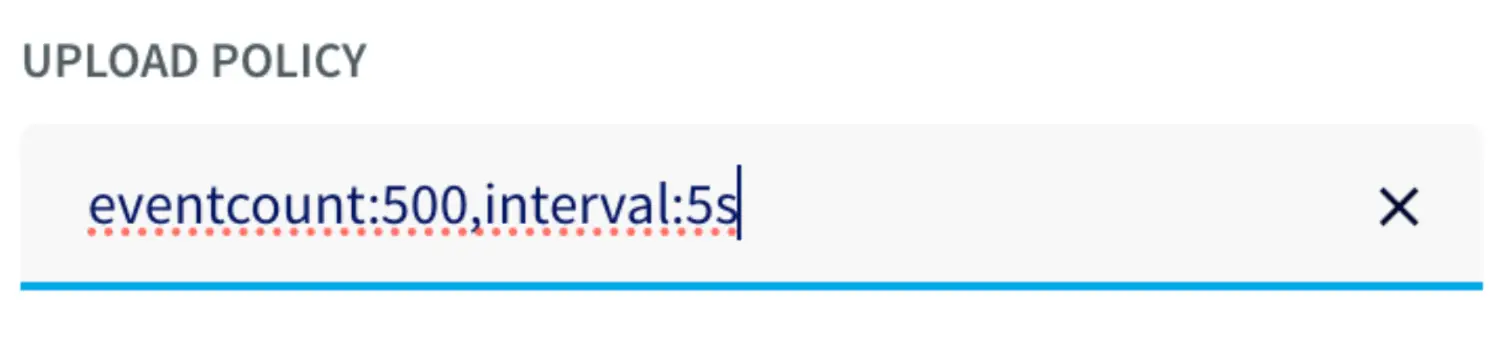
You can fine-tune the settings of upload policies based on the needs of your users. But you may start by changing ‘UploadPolicy’ to ‘eventcount:500,interval:5s’ to load either at every 500 events or 5 seconds (whichever comes first).
There are a few limitations to this approach, as follows:
- Snowflake Streaming API restricts AUTO INCREMENT or IDENTITY.
- Default column value that is not NULL is not supported.
- Data re-clustering is not available on Snowpipe streaming target tables.
- The GEOGRAPHY and GEOMETRY data types are not supported.
Wrapping Up: Start your Free Trial Today
In this recipe, we have walked you through steps for creating a Striim application with Snowflake as a target using test data from our Continuous Generator adapter. You can easily set up a streaming app by configuring your Snowflake target. As always, feel free to reach out to our integration experts to schedule a demo, or try Striim developer for free here.
Tools you need
Striim
Striim’s unified data integration and streaming platform connects clouds, data and applications.

Snowflake
Snowflake is a cloud-native relational data warehouse that offers flexible and scalable architecture for storage, compute and cloud services.